Create Email Campaign

Creating an Email Campaign

Click the Quick Link to navigate to a particular topic:

Adding Basic Details for a new campaign

To create a new campaign,Click the Email campaigns tab (next to the Home tab), and then click Create Email Campaign

or

Click the Home tab --> Getting Started --> Create Email Campaign

Fill in the following information:

Field Description
1. Name Name your Campaign for future reference.
2. Subject A suitable subject to describe your Campaign.
3. Personalize sender details with CRM data Select this checkbox to personalize the sender name based on account owner present in Zoho CRM. Learn more
3. Sender Name Mention your name or your organization’s name.
4. Sender Email Address Specify your business email address. (The email address used to create your Zoho Campaigns account will be set as sender address by default)
5. Reply-to Address This should be the same as the sender email address.

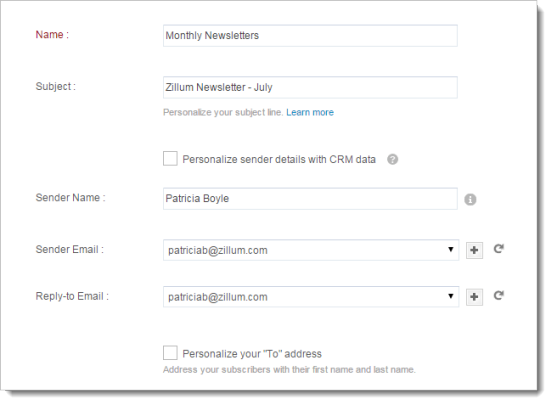
Personalize your "To" address: Instead of just adding the recipients' email addresses, add their first and last name too.

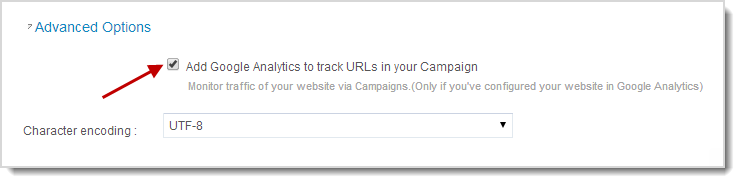
Advanced Options: You can use Google Analytics to track the traffic flow and the traffic source of your campaign. We tag 3 campaign-tracking parameters to all URLs in the email campaign:

  1. utm_source=Zoho Campaigns
  2. utm_campaign=Campaign Name, and
  3. utm_medium=email

Note : You can use an alternate email addresses as the sender's email address. Just add the email address, send a verification email; verify and use.

Creating the content for my email

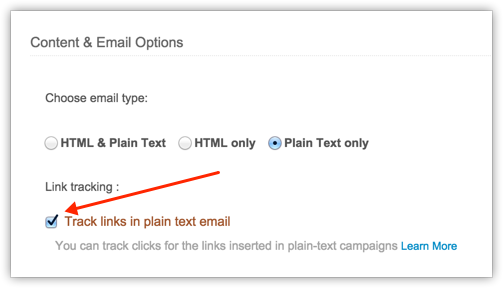
Design and configure the content of your email by choosing your email type and content option:

Choosing an Email Type

  1. HTML & Plain Text – This option allows the user to send campaign content in both HTML (rich text) &text (plain text) format. The advantage of sending an email through both the formats is that it’ll enable the recipients to receive a well formatted email of their choice. And if you’ve provided the HTML file, Zoho Campaign will automatically extract the content for the plain text.
  2. HTML only – Select if you want to send your campaign with visual images and logo. However, the recipient of your campaign needs to use a browser/email client and device that support this format.  
  3. Plain Text only – Theses are simple emails without images or logos. The purpose is to send the message without losing any content. It has been found that plain text version shows a high degree of email deliverability.

How to monitor plain-text campaigns?

You can track plain-text campaigns by inserting links in your email content. All you need is to select the checkbox to enable tracking for the link inserted in the email content.

How the links present in plain-text campaign are tracked?

When you insert links in your email content, they get replaced by our domain based links.

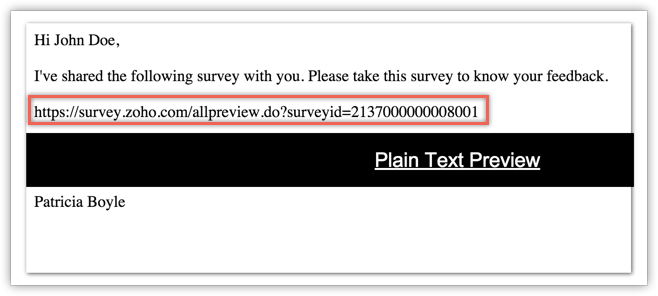
When a recipient clicks these domain based links, they get redirected through our servers and lands on the original webpage.

What is the need to replace the inserted link by a domain based link?

These domain based links are click tracking URLs which goes through our server to track links present in the email content.

Note

  • We recommend HTML and plain text for the content to reach hassle-free.
  • You will not be able to open and click reports summary in plain text content.
  • If you are using a Shortened URL, still we will use our domain based links to replace the existing links.

Choose the content layout and design from one of four options:

  1. Professional drag-and-drop templates
  2. Import an existing HTML file, along with its images
  3. Use the HTML editor and design a HTML email
  4. Import from the Cloud i.e. Google Drive etc.

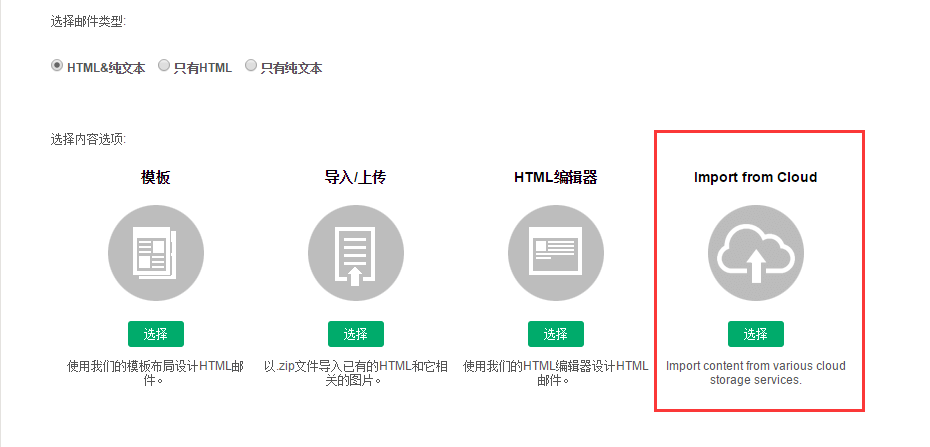
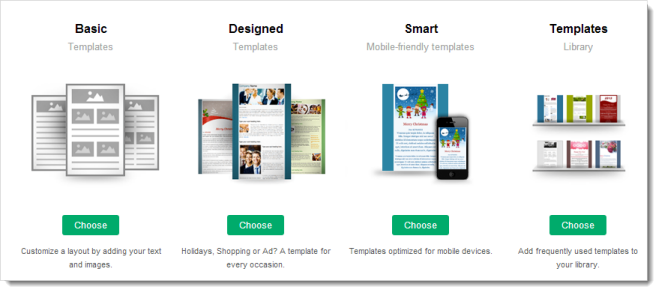
Templates - You can go with one of our templates and upload images, add text, have options for button, inline image, anchor tag, and easily customize the layout using the dropdown feature. We’ve categorized our templates on the basis of your requirements:

  1. Basic Templates - These are simple templates with one-, two-, and three-column layouts. Pick one of these , add the content and images, and send your campaign.
  2. Designed Templates - A variety of templates designed for a variety of needs ranging from business communication to seasons greetings.
  3. Smart Templates- These templates are optimized for viewing on mobile devices.

Template Editor - In addition to selecting a template you can add to the design and upload images, add text, have options for button, inline image, anchor tag, and easy customization of the layout using the dropdown feature. All these options are available through the template editor.

Learn more about template editor

Import/Upload - With this option, you can import the HTML content for the email. Browse and select the HTML file along with the related images and upload them .

To import the HTML content,

  1. Go to Content Configuration page, Select Import/ Upload option.
  2. Browse and select the HTML page and related image files in Zip folder.
  3. Click Import to upload the files.

HTML Page

Here you need to upload the HTML file designed for your email campaign.

Image Files

All images which include logo, banner, and CSS files should be in a single zip folder. Make sure that you zip the images folder and not the images. We’ll extract the images from the .zip folder.

If inspite of uploading the image zip folder, the images do not appear on the email it can be one of these reasons:

HTTP resource:

  • Typo error – Recheck the spelling of the images and its code in HTML.
  • 404 Error – This error occurs when the image is removed from the website.
  • Authenticated session access – Particular image is taken from a site which requires an access into the website.
  • Not a public image –You have to have private privileges to access this image.

Non-HTTP Resource:

  • Please check if the zip folder contains the image.
  • Recheck the spelling of the images and their codes in HTML.

HTML Editor - You can design your own HTML content using our HTML editor and you don’t have to take the trouble of importing your HTML files along with the related images, logos and CSS files.

Note

  • Avoid using any embedded videos & options for dropdown list, radio button, checkbox and iframe.

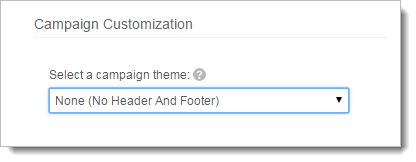
Campaign Customization - Customize your campaign with themes.

Here you can change the background color, font style & size and personalize the header & footer options. You can select the theme from a dropdown list. Learn more about Campaign Themes (Header & Footer Customization).

Note

  • In the preview page, you can analyse how your email content looks to your recipients. We provide both HTML as well as plain text previews .

Send Test Mail

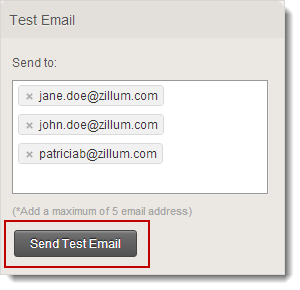
While creating an email campaign, it is always recommended to first send a test mail to view how the message will look in the recipients’ inbox. It provides a last chance to identify the errors in the content, if any. There are two ways to send the test mail.

To send a test mail

  1. In Content Preview page, go to Test Email (On the right side of page).
  2. Select Email address.
  3. Click Send Test Email.

OR

  1. In Send Campaigns page, go to Test Email. (On the right side of page).
  2. Select Email address.
  3. Click Send Test Email.

Note

  • You can send a maximum of 50 test emails per day. To increase the test email limit, contact support@zohocampaigns.com.
  • You can add a maximum of 20 test email address in an organization.
  • At any time, you can send the test email to a maximum of 5 recipients out of the 20 email addresses added (Refer previous point).
  • Links (also includes header & footer links) and merge tags will not work in a test email.
  • A test email will be sent in two formats (HTML and Plain text). However a recipient of the actual campaign email will receive only one email.

Choose Recipients

  1. In Choose Recipients page, select the mailing list of contacts.
  2. To create a mailing list, follow the path Contacts tab -> Import Contacts subtab. Learn more on How to import Contacts
  3. Click Proceed.

Send for Review

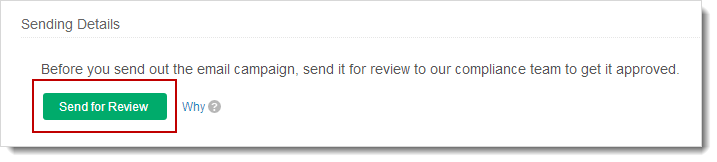
To ensure that your email campaign reaches the recipients inbox, our moderators check the subject line, mailing list and content for anti-spam compliance. Learn more on "Why is my campaign reviewed?"

Note

  • If you are using our Zoho Campaigns mobile app for iPhone, you’ll receive notifications that your email campaign has been reviewed.

Send Campaign

You have three options to send a campaign.

    1. Send Immediately - Send your emails immediately.
    2. Schedule Delivery - Schedule the emails to be sent later.
    3. Send later in Recipient's Time Zone - Schedule emails based on each subscriber's time zone.

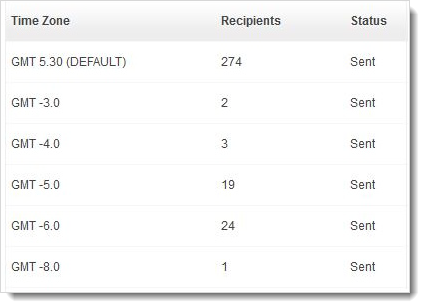
To schedule email campaign based on Recipient's Time Zone

  1. In the Schedule Email page, select Send Later in Recipient's Time Zone.
  2. Choose the date and time for email delivery.
  3. Click Schedule.

Note

  • You need to schedule campaigns at least 24 hours in advance so that none of your subscribers are left out.

Time Zone based Reports

You can view detailed reports of the campaign. The following reports will be shown:

  • Summary View of Recipient Activity
  • The Time Zone Stats show the number of recipients in each time zone and also the status of the emails sent. (Scheduled or Sent).

Exclude Contacts

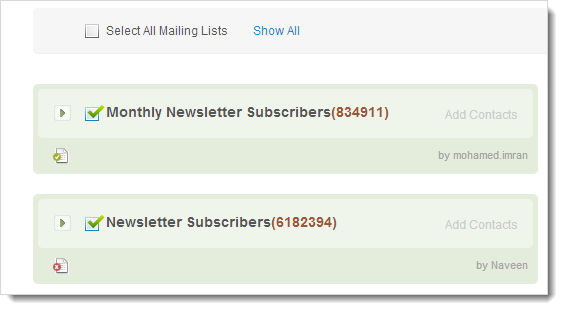
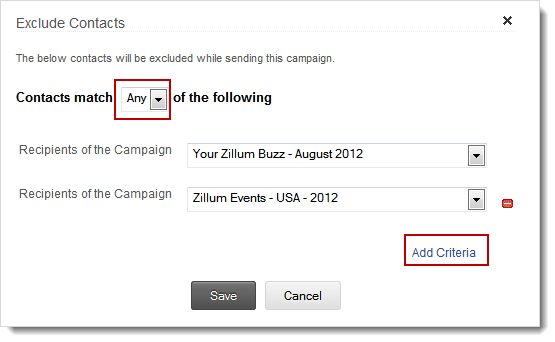
You can exclude contacts who have already received an email for a particular campaign to concentrate on newly added contacts.

To Exclude Contacts, follow these steps:

  1. In Send Campaigns page, Click Exclude contacts.
  2. You’ll be prompted with the Recipients of the Campaign.
  3. Select the previous sent campaign from the drop-down menu.
  4. Click Save to proceed.

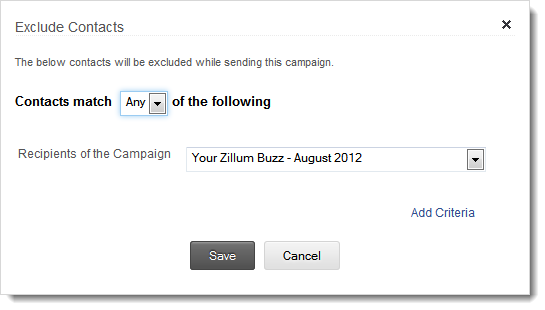
If you want to exclude all contacts of a previously sent campaign, you can Add Criteria in the popup message. The contacts will be excluded by adding Any option wherein any contacts of those previous sent campaigns will be excluded.

When you clone a campaign and send it to the same mailing list but with added contacts which was used for the previous campaigns this option gives you a provision to exclude all those contacts.

Note

  • You can Add Criteria option for a maximum of 5 Campaigns.
  • Exclude Contacts feature is not available for A/B Campaigns or Child campaigns.

Social Sharing

Promote your email campaign on social media by sharing it on Facebook, Twitter, LinkedIn, Google Plus, and Pinterest.

Click Email Campaigns tab --> Choose the campaign you want to share.

In Report Summary page, click Social Share button.

Manual Sharing

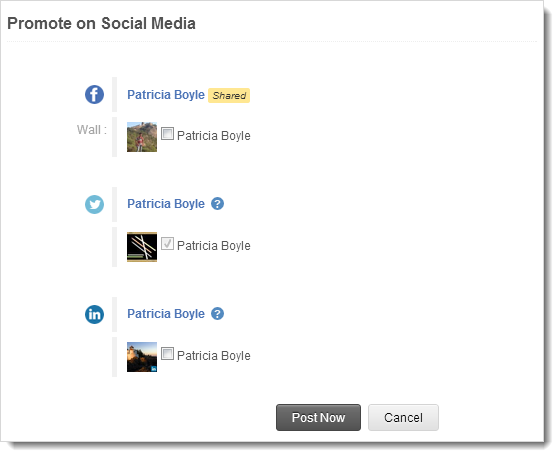
You can also manually share their email campaigns on Facebook, Twitter, LinkedIn, Google Plus, and Pinterest profiles.

Note

  • Associate your Zoho Campaigns with social accounts to share your email campaign.
  • Only Sent campaigns can be shared on social media.

Related Topics

Campaign Themes | Merge Tags


Top