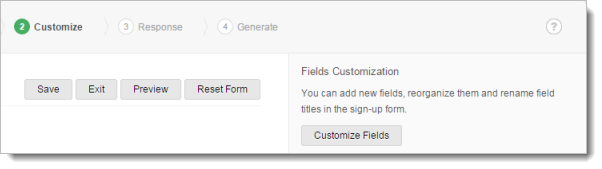
In customize phase, you can design the overall look of the sign-up form. In this section, we will take a walk through different level of customizations such as editing fields, add logo, add background image, change color, change font style, add captcha, etc.
To customize your sign-up form, follow the steps below:
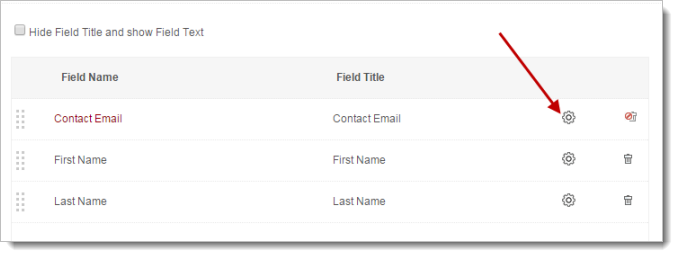
You can add, edit and delete fields as well as make changes in field name, label, and swap field positions.
You can add fields to your sign-up form by dragging the selected field to the sign-up field setup. Once you add the field, it’ll prompt you to edit the field properties such as field name, title, text and other options.
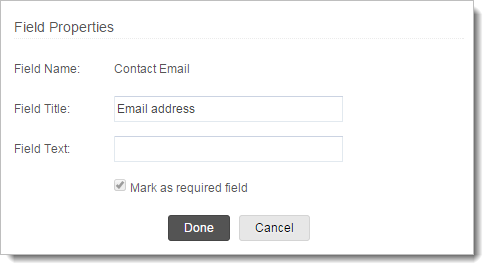
To edit a field,
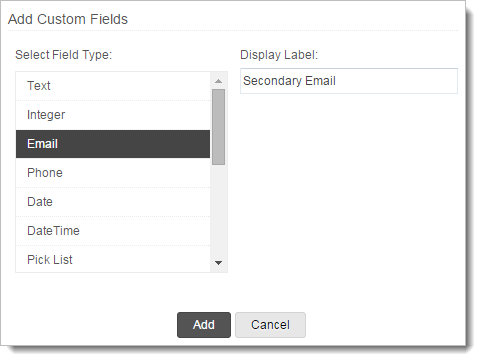
You can create your own custom fields for your sign-up form where you can get the extra information from your subscribers. With Custom fields, you can get any type of information, set character limit and use them to save data which are specific to your business.
To create a custom field,
You can customize your sign-up form using design tools present on the right hand side. For example, you can change the font, size, or apply a different font color. Let’s take a look at each attributes.
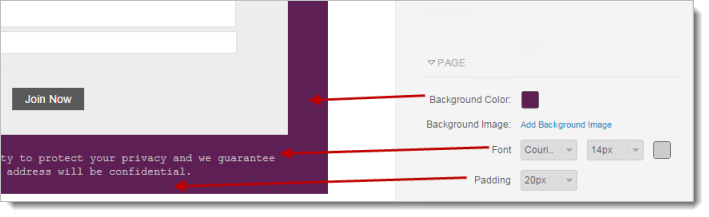
Page - This is the outer space of sing-up form theme and can be customized by changing the background image, color and padding.
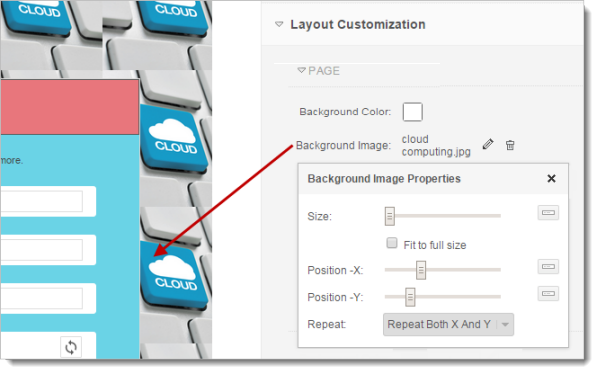
Background Image - This is same as a background color but it uses an image you specify the page instead of a color.
To add background image,
Add Logo - You can add company logo to your sign-up form.
To upload an image for the logo,
Note
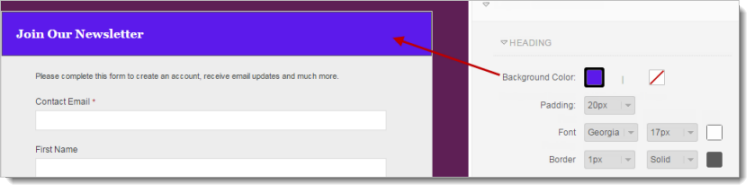
Heading – This is the title or name of your sign-up form. You can customize the size, color and font of your sign-up form title.
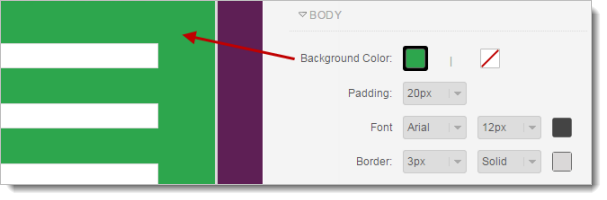
Body - This is the main space which occupies the sign-up form. You can customize the body by changing the background color and image, border, padding and the text color, font and size present in sign-up form.
Background Color – You can add background color to the sign-up form body.
No Fill – If you don’t want the background color, you can click the No Fill icon
Padding - You can increase and decrease the space between the page border and the body by adjusting the pixels
Font – You can edit the font type and color for the text present in the body
Border - You can increase or decrease the border thickness and customize the border as solid, dotted, dashed or without any border
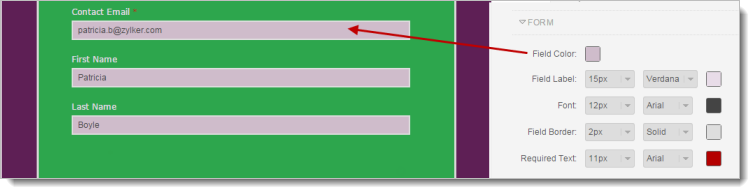
Form – This is the core part of sign-up form and constitutes the field label and field text. You can customize the font, color, size of different field related options.
Field Color – You can change the background color for the fields
Field Title – You can change the font size, style and color for the field title
Field Text - You can change the font size, style and color for the field text
Field Border – You can customize the border thickness, color, etc.
Required Text – You can decide the color, font size and style for the text to be added in fields.
Button
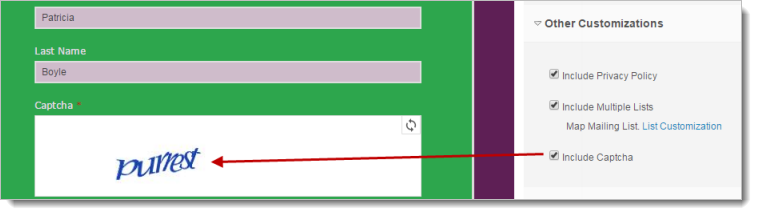
Include Privacy Policy - The privacy policy will be included by default. If you do not want the privacy policy, you may remove it from your sign-up form.
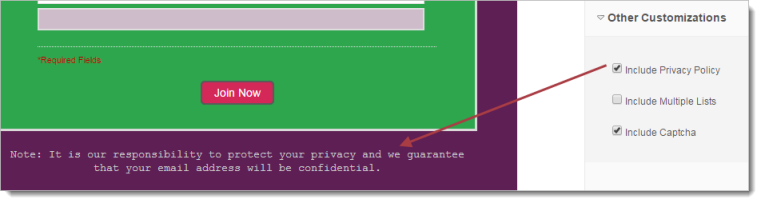
For your reference, “It is our responsibility to protect your privacy and guarantee that your email address will be completely confidential” in the footer section of your sign-up form.
Note
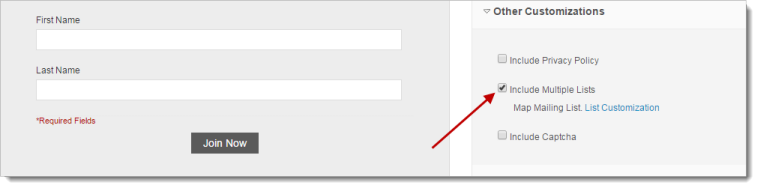
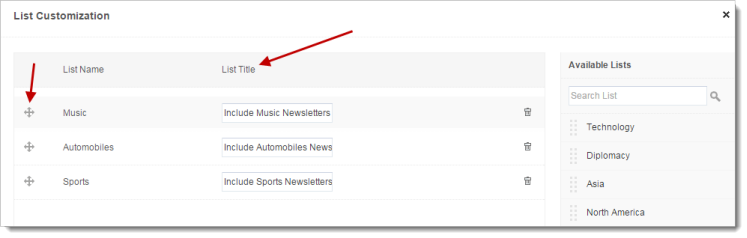
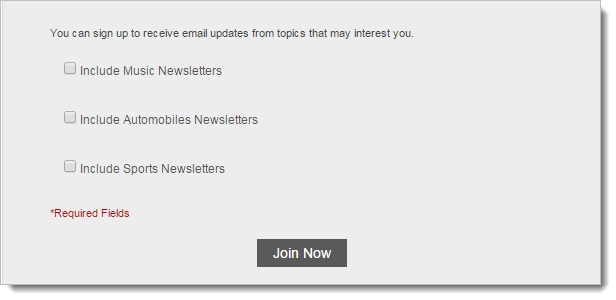
Include Multiple Lists - You can choose this option if you want the subscriber to sign up for more than one mailing list. Once you select this option, you can select the available mailing lists present in your account.
To include multiple mailing lists,
Note

Include Word Verification - You can turn on the CAPTCHA to prevent the spam bots from automated filling of sign-up form.
Responses in Sign-up Forms | Different Types of Sign-up Form | Detail View on Sign-up Form