What is an Email-action based Autoresponder?
Using Email-Action based Autoresponder, you can send out a series of emails based on email opens/clicks. Understand the recipients' interest by analyzing the opens and clicks and send follow-up email campaigns to meeting the requirements of the recipients.
To create a Email-Action based Autoresponder, follow the steps given below:
- Go to Automation tab --> Autoresponders.
- In the Autoresponders page, click the Create Autoresponders button.
- In the Create Autoresponder page, choose Email-action based Autoresponder.
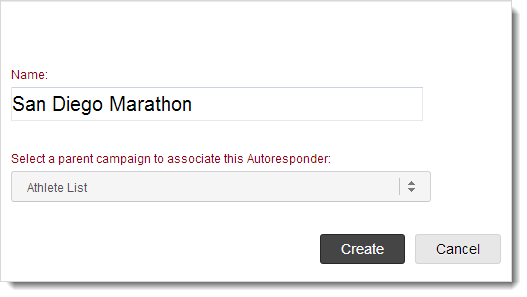
- Name your Autoresponder for future reference and select the email campaign for which you want to send your Autoresponder.
- Click the Create button to proceed. This will take you to the page to create messages for this Autoresponder.
Create Email-action based Messages
To create the message for the Autoresponder, follow the steps given below:
- Click the Create Message button.
- In the Add Message Settings page, add the following information:
- Message Name - Give a name to your message.
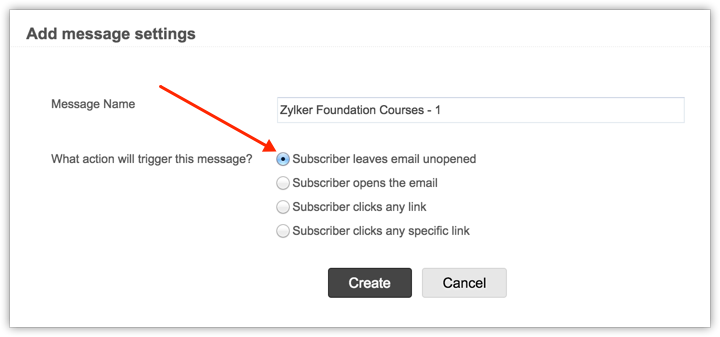
- What action will trigger this message? - Select the action to trigger this message.
- Subscriber leaves email unopened - Message will be triggered when subscriber leaves the email unopened.
- Subscriber opens the email - Message will be triggered when the Subscriber opens the email.
- Subscriber clicks any link - Message will be triggered when the Subscriber clicks any link present in the email campaign.
- Subscriber clicks a specific link - Message will be triggered when the Subscriber clicks a specific link among the ones present in the email campaign.
- Click the Create button to proceed.
- Now, you can create the message like a regular email campaign, entering basic details, adding content, and sending it for review.
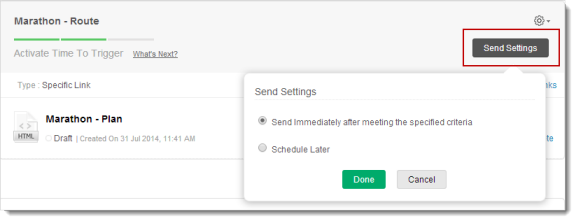
- Once the message is reviewed, click the Send Settings button. You may choose to send immediately or schedule it at later time.
- Click the Start button.
Note
- You cannot clone an Email-action based Autoresponder because it is based on opens/clicks of an existing email. You can not create two Email-action based Autoresponder for a single email campaign.
- Autoresponder messages are automatically grouped based on tags such as opens, any clicks, specific clicks.
- You cannot create an Email-action based Autoresponder for a Calendar based Promotions, A/B Campaigns and Email-action based Autoresponders
Edit Autoresponder Message Content
You can edit the Autoresponder message content by following the steps given below:
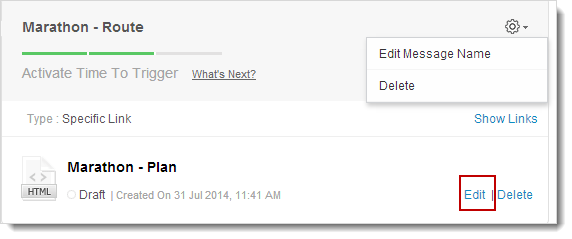
- Go to Autoresponders subtab, and click the Autoresponder.
- Go to the message and click the Edit option to make changes.
- Click the Proceed button.
Note: You can not edit content for an active Autoresponder. However, you can clone the Autoresponder content and edit it.
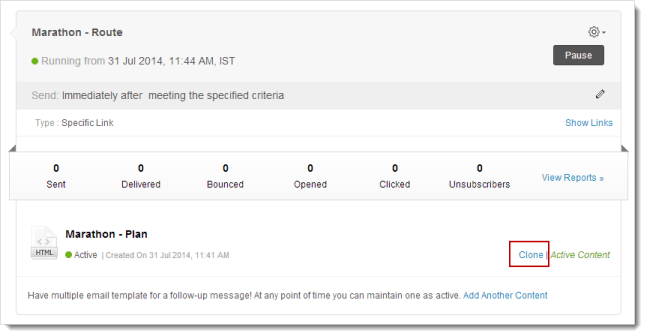
Clone Autoresponder Content
You can clone the content of an Autoresponder message by following the steps given below.
- Go to Autoresponders subtab, and click the Autoresponder.
- Now, go to the relevant message and click the Clone option.
- You’ll get a pop-up page to enter the basic details.
- Click the Save button to confirm.
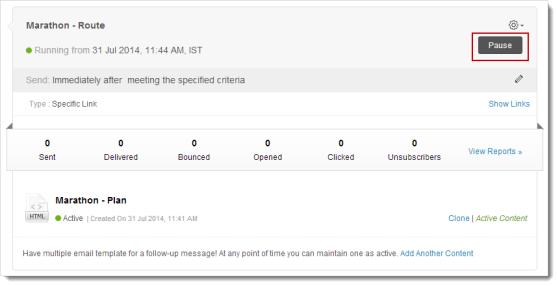
Pause Autoresponder Message
You can pause a specific message while it is running on a mailing list of recipients.
- Go to Autoresponders subtab, and click the Autoresponder message to be paused.
- Click the Pause button found on the top right hand side.
- Click OK to confirm.
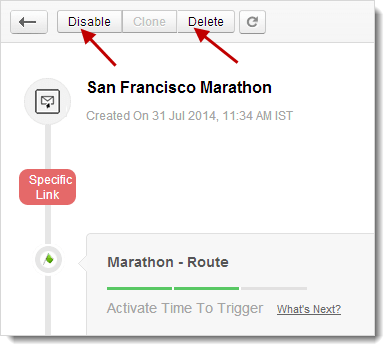
Disable Autoresponder
Disabling an Autoresponder will pause all the Autoresponder messages.
- Go to Autoresponders subtab, and click the relevant Autoresponder.
- Click the Disable button on the top of page.
- Click OK to confirm.

Delete Autoresponder
You can delete an Autoresponder (and all its messages) by following the steps below.
- Go to Autoresponders subtab, and click the appropriate Autoresponder.
- Click Delete button on the top of page.
- Click OK to confirm.
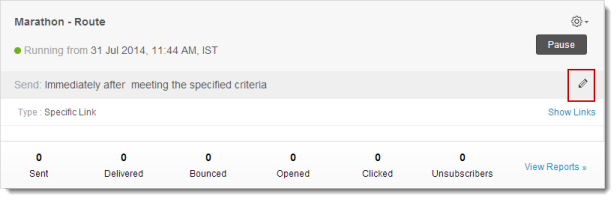
Edit Autoresponder Message Timing
You can edit the timing of an Autoresponder message by following the steps given below:
- Go to Autoresponders subtab, and click the Autoresponder.
- Now, go to the relevant message and click the Edit icon related to Send Settings.
- You’ll get a pop-up page to schedule the timings.
- Click the Done button to confirm.
Note: Any change in timing may take upto 24 hours to get updated.
