How Can I...up
Zoho Campaigns provides a naive approach to create Autoresponders and does not require the sophisticated steps to create one. One of the advantages of our Autoresponder is its user-friendly interface that can make anyone create an Autoresponder without any support of a programmer which proves our notion of keeping it simple.
To create an Autoresponder,
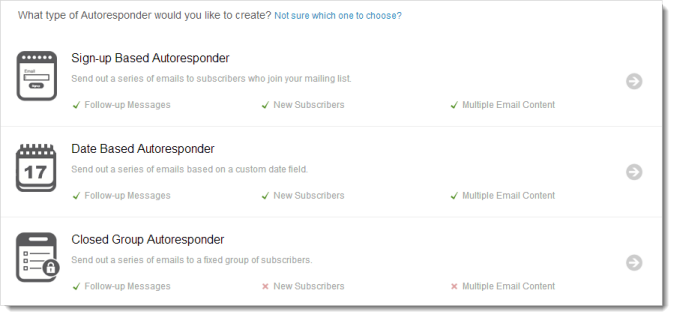
- Go to the Autoresponders module and click Create Autoresponder and select the type of Autoresponder, you want to proceed.
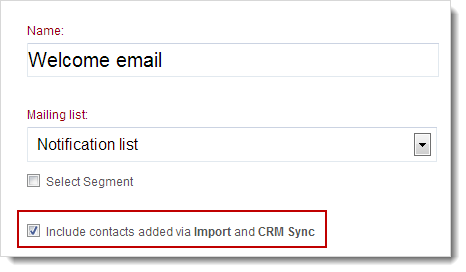
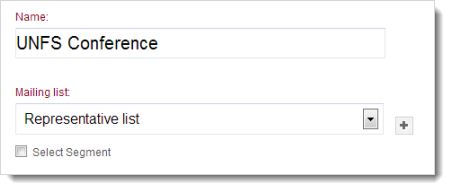
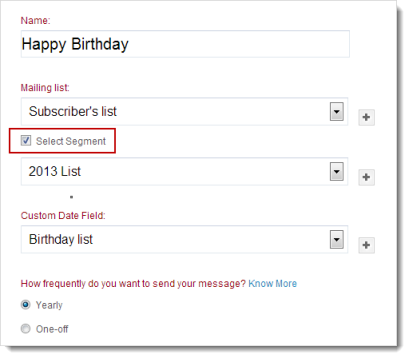
- Give a name to your Autoresponder and select the Mailing List that you want to send your Autoresponder.
- For Sign-up based Autoresponder, select the check box for Include contacts added via Import and CRM Sync, if you want to target the Autoresponder to contacts added via import and CRM sync.
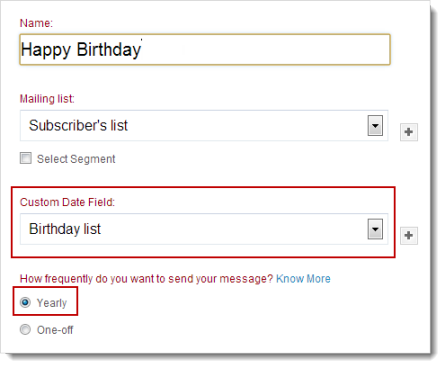
- For Date based Autoresponder, select the Custom Date Field, based on which you want to send the Autoresponder. It may be a birthday or renewal of subscription. Also, set the frequency for the Autoresponder – the number of times it has to be sent.
- Yearly – Your message will be based upon an annual recurring date such as birthday or anniversary wishes.
- One Off– Your message will be generated only once and will be on the basis of an exact date value such as expiry of a contract.
- Click Create button to proceed. This will take you to the page, where you will create messages to this responder.
Create Autoresponder based on segments
- To send to a segment of your mailing list, select the check box for Select Segment and choose the specific segment from the dropdown menu.
- The time taken to trigger an Autoresponder would be related to the time a subscribers joins the mailing list.
Note
- If a segment is created and the subscribers are moved, the corresponding timing would not be considered for sign-up based Autoresponder.
Create Messages for the Autoresponder
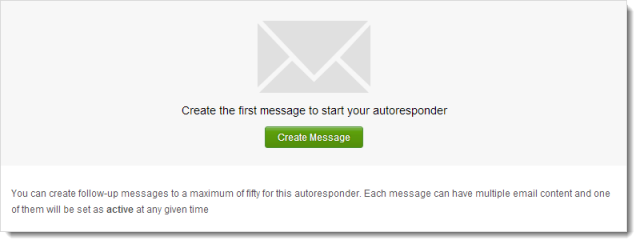
You can create multiple messages starting with the first message followed by the follow-up messages.
To create the message for the Autoresponder,
- Click Create Messagebutton to create your message for the Autoresponder.
- Now, you can create the message in the same way a regular email campaign is created such as entering basic details of name, subject line, from the email address; configuring content and, of course, reviewing the campaign content.

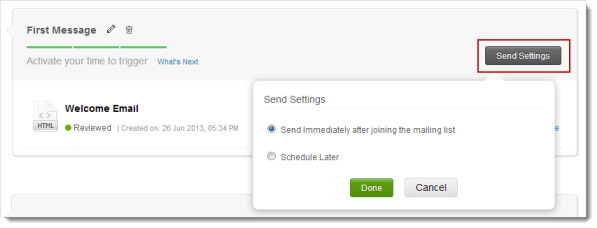
- Once the message content is reviewed, click the Send Settings button to select a start time. You can choose immediately or schedule the message at your comfortable time.
- Now you can start the Autoresponder by clicking the Start Now button.
Note
- Autoresponders are available only for our users who have subscribed to the paid edition.
- You can create multiple messages under an Autoresponder.
- To create a date-based custom field, go to Settings à Custom Fields-->Add Custom Fields.
- You can create a maximum of 50 messages in an Autoresponder.
Edit Autoresponder Message Timing
You can edit the timing of an Autoresponder message by following the steps given below:
- Go to Autoresponders module, and click the appropriate Autoresponder.
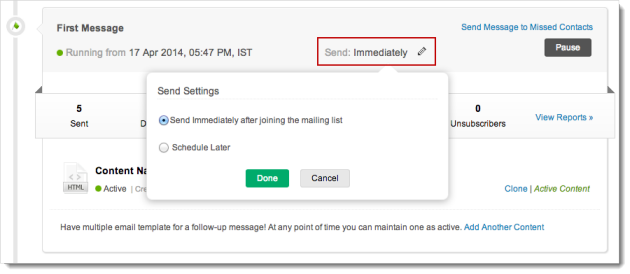
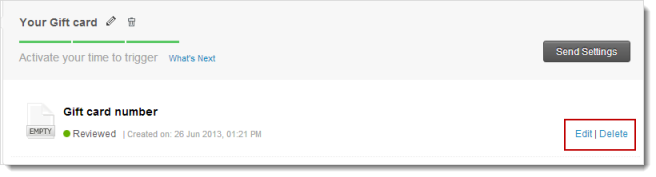
- Now, go to the relevant message and click the Edit icon related to Send Settings.
- You’ll get a pop-up page to schedule the timings.
- Click the Done button to confirm.
Note
- Any change in timing may take to the maximum of 24 hours to get updated.
Edit Autoresponder Message Content
You can edit Autoresponder message content by following the steps given below:
- Go to Autoresponders module, and click the appropriate Autoresponder.
- Now, go to the relevant message and click the Edit link to make changes in the campaign flow.
- Click the Proceed button.
Note
- You can not edit an activated Autoresponder message. However, you can clone the message and edit the cloned content.
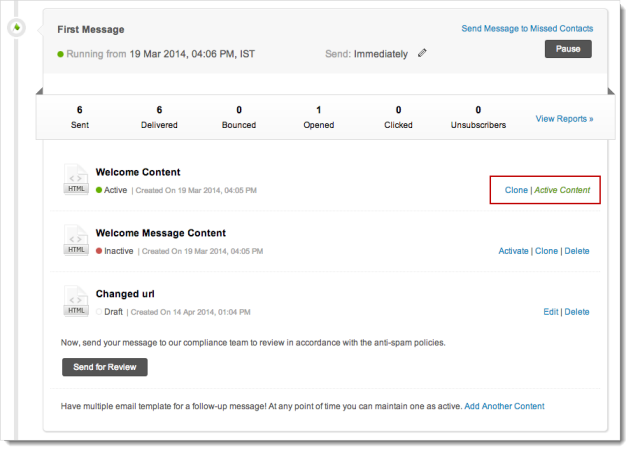
Clone Autoresponder Message
You can clone an Autoresponder message by following the steps given below.
- Go to Autoresponders module, and click the appropriate Autoresponder.
- Now, go to the relevant message and click the Clone link.
- You’ll get a pop-up page to enter the basic details.
- Click the Save button to confirm.
Pause Autoresponder Message
You can pause a specific message while it is running on a mailing list of recipients.
To pause an Autoresponder,
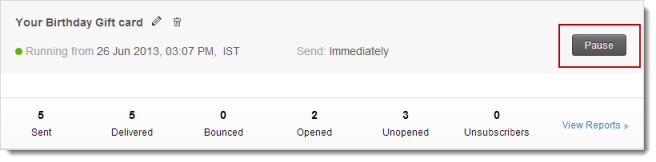
- Go to Autoresponders module, and click the appropriate Autoresponder.
- Click Pause button found on the top of Autoresponder.
- Click OK to confirm.
Disable Autoresponder
Disabling an Autoresponder will pause all the Autoresponder messages.
To disable an Autoresponder,
- Go to Autoresponders module, and click the appropriate Autoresponder.
- Click Disable button on the top Autoresponder.
- Click OK to confirm.
Delete Autoresponder
You can delete a whole set of responder messages by following the steps below.
To delete an Autoresponder,
- Go to Autoresponders module, and click the appropriate Autoresponder.
- Click Delete button on the top of Autoresponder.
- Click OK to confirm.
Add/Remove Recipients from Sign-up based Autoresponder
You can add or remove the recipients getting added via import and CRM by following the steps given below:
- Go to Autoresponders module, and click the appropriate sign-up based Autoresponder.
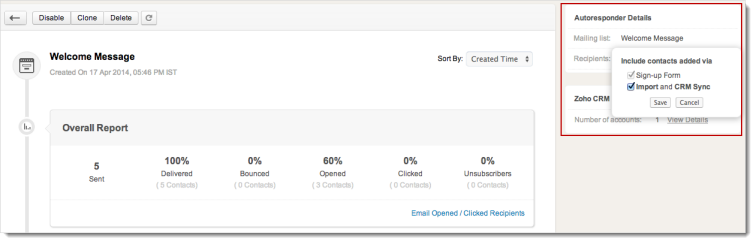
- In the Autoresponder message page, go to Autoresponder Details present on the right hand side.
- Click the Edit icon to edit the recipients.
- You’ll get a pop-up page to select the contacts added via import as well as sync with CRM.
- Click the Save button to confirm.
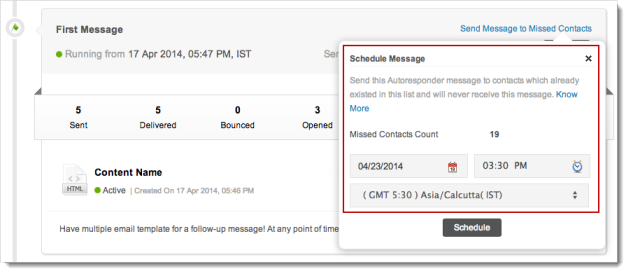
Sending Autoresponders to Existing Contacts
Often, our users come across scenarios where they want to send Autoresponders to existing contacts. These contacts existed already and will never be receiving that message scheduled in the Autoresponders.
For example, an Autoresponder is set with a message which will be received by subscribers after 4 days of sign up. Now, when a contact is added to a list on August 4th, that subscriber would be receiving the message on August 8th.
That’s fine! But what about the contacts present already in the list? These contacts will never receive the message as they do not satisfy the set criteria.
For such contacts, we’ve an option to send the Autoresponder message by clicking the Send Message to Missed Contacts link situated on right above the Autoresponder message.
Note
- This enhancement is limited to sign-up based Autoresponders only.
