Table of Contentsup
Overview
Push Notification is the transmission of information from a software application to electronic gadgets such as mobile phones, iPads etc without any specific request from the end user. They are a great way of sending out prompt and pertinent messages that can keep users updated with relevant information. The information delivered can be advantageous for purposes such as marketing campaigns, to update users of new features or simply a reminder of the app’s presence for the user to try out. The user can receive Push Notifications even if the app is not being actively used, or the device is locked and irrespective of the app running in the background or not.
How it works in Zoho Creator?
- Zoho Creator applications are compatible with both desktop/laptop browser version and mobile version. From the browser version, application owners can configure Push Notifications to be delivered to their application users' native apps.
- Push Notifications can be configured from GUI or by executing simple Deluge Scripts. While configuring from GUI, you can select when to send the push notification (on adding, updating, adding and updating records), set criteria (needs to be met for notifications to be sent) and select users (to whom notifications will be sent).
- Native app users can select Reports for which they want to receive notifications.
More information in detail follows.
Configure Push Notifications from GUI
To configure Push Notifications from the GUI, click on the Settings icon in the Form builder (or) from the Forms tab of your Dashboard page. Select Notifications > Mobile Push to display the Push Notifications page. Specify the following details:
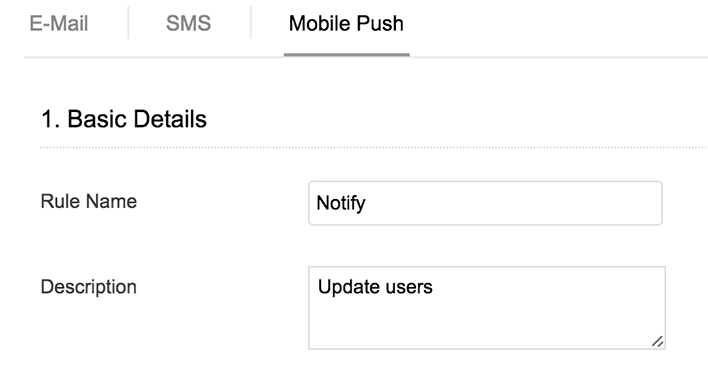
- Basic Details
Use this panel to assign a name and description to the rule.
- Enter the name of the rule. Maximum character limit is 255. Example: Send confirmation email.
- Enter a description for this rule. The description should include the purpose of the rule. Maximum character limit is 255.
Screen shot of the Basic Details panel
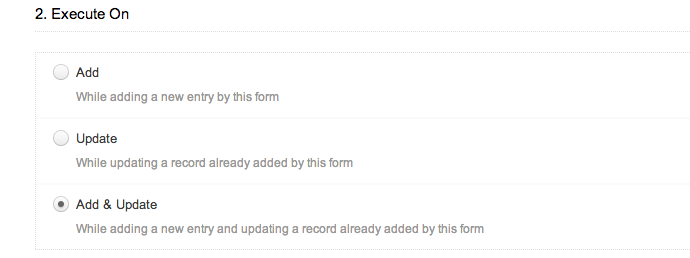
- Execute on:
- The Execute on panel defines the specific event which triggers a rule. Rules are triggered when a new record is added or when an existing record is updated or both. Rules associated with field tasks will be triggered when the value of a field is added or updated or both.
- Add - The Add rule is triggered on form submit after a new record is added to the database. Rules associated with field tasks will be triggered at the time of user attempt to add input values in client side.
- Update - The Update rule is triggered on form submit after an existing record is modified in the database. Rules associated with field tasks will be triggered at the time of user attempt to update input values in client side.
- Add and Update - The Add and Update rule is triggered on form submit after a new record is added or existing record is modified in the database. Rules associated with field tasks will be triggered at the time of user attempt to add or update input values in client side.
Screen shot of the Execute On panel
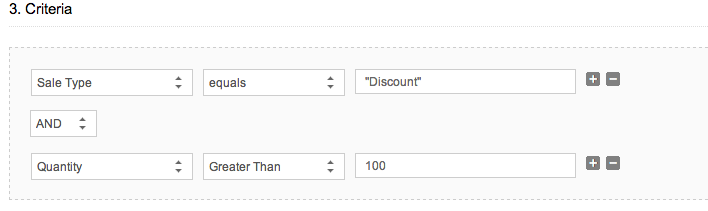
- Criteria
The Criteria panel defines the rule condition or criteria. "All Records" denote no criteria. "Selected Records" allow you to define criteria for only selected records. A criteria comprises of Criteria field - Name of the form field to check the value against. At the end of each condition or criteria you will find the + button that allows you to add multiple criteria for each rule with AND/OR operator. When you click on the + button to the right of the first condition, this will display a logical operator dropdown to state whether the rule requires all of the conditions to be true (AND) or at least one of the conditions to be true (OR), before the tasks will be executed.
Screen shot of the Criteria panel
- Associate Tasks
The Associate Tasks panel is used to specify the following details:
Important points for the user on the receiving end of Push Notifications
- The end user can choose the reports for which Push Notifications can be received. To select the report, navigate to the Forms and Reports listing of your app, in your mobile, and click on
 . Select the reports for which you want Push Notifications.
 - The user can receive Push Notifications even if the app is not being actively used, or the device is locked and irrespective of the app running in the background or not. To stop receiving Push Notifications, please contact the application owner.
