Overview
Zoho Creator supports Image field type to upload images to your form from your local computer or by specifying the image URL. The Image field also provides option to specify the alternate text, URL, title and target to display the image. This can be done by selecting Options that is displayed in the dialog when you add the Image field.
Note:
- The maximum size of each image that can be uploaded is 1 MB. For File Upload field, the limit is 5 MB.
Steps to add an image from link
- Drag and drop the Image field type to your form.
- In the Field Name textbox, specify the name that will be displayed for this field in the Form. The Deluge name of the field will be same as the field name with underscore instead of white spaces, and will be assigned automatically by Zoho Creator. This name is used to refer to the field in script mode.
- Select the Browse Options as Link if you want to specify the image link.
- Under Appearance click on the required check boxes, as shown below.

Alt - The ALT text is meant to provide alternative or substitute text, primarily for use when the image is not being displayed.
URL - The URL option, if enabled, will display the image as a link. Disable this option, to display the image directly in the report.
Title - The Title is meant to display a popup text that will be displayed, when you run your mouse over an image.
Target : The Target is meant to provide option to specify if the image must be displayed in the same window or a new window.
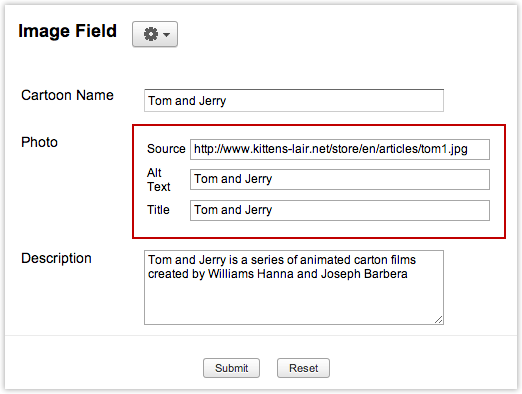
- The screen-shot given below, shows the Photo image field added to the form with Source option to specify the image "Link".

- To enter data to your form, access the application by selecting Access this application button.
- Specify the Image Source, Alt text, Link, Title etc., as shown below. Please note that in the Source textbox only links to images present in some other server can be entered. Links to images from your hard disk cannot be entered as source. If you want to upload an image in Zoho Creator, use the File Upload field type.
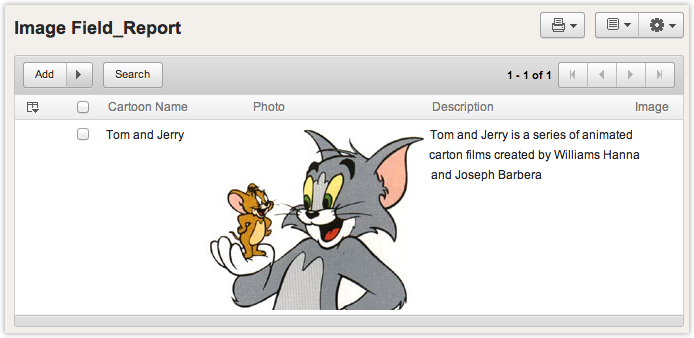
- The image will be displayed in the Report, as shown below:
Steps to upload an image from local computer
- Drag and drop the Image field type to your form. Specify the Image Label name, for example "Photo"
- Select the Browse Options as local computer if you want to specify the image link.
- Under Appearance click on the required check boxes, as shown below.

Alt - The ALT text is meant to provide alternative or substitute text, primarily for use when the image is not being displayed.
URL - The URL is meant to provide the link to be displayed, when the image is clicked.
Title - The Title is meant to display a popup text that will be displayed, when you run your mouse over an image.
Target : The Target is meant to provide option to specify if the image must be displayed in the same window or a new window.
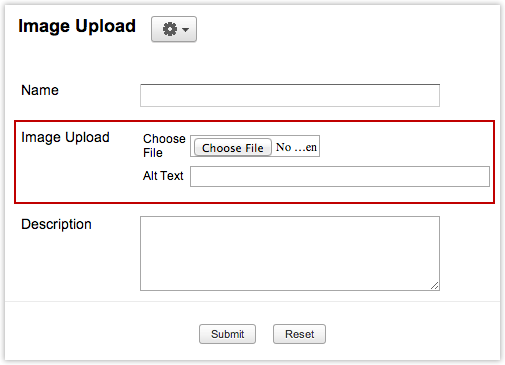
- The screen-shot given below, shows the Image Upload field added to the form with Source option to specify the image "Link" in Edit mode.
- To enter data to your form, access the application by selecting Access this application button.
- Specify the Image Source, Alt text etc, as shown below. Please note that in the Source textbox only links to images present in your hard disk can be entered as source.
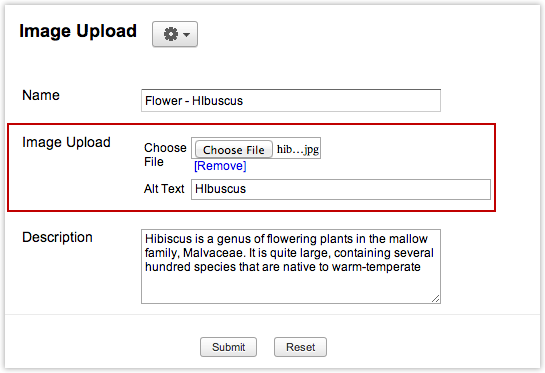
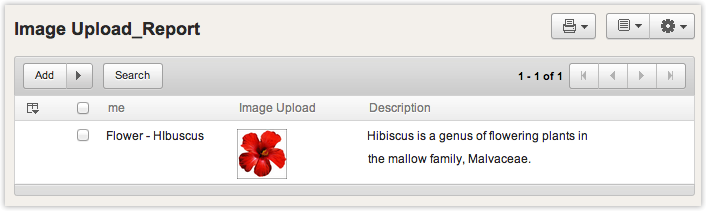
- The image will be displayed in the report, as shown below:
Steps to download images from image field
You can download images from your application reports to your desktop using the Filedownloader tool. This productivity tool helps you download all your images stored in an image field, at once. Following are the steps to use Filedownloader tool:
- Download filedownloader.exe and run it.
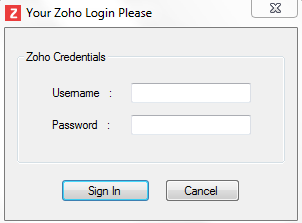
- Enter your Zoho Creator account credentials and click on Sign in.
- If you have Two Factor Authentication enabled,
- Go to https://accounts.zoho.com
- Click the Two Factor Authentication link.
- In the Two Factor Authentication page, click Manage Application Specific Passwords.
- In the Application Specific Passwords popup, do the following:
- Enter the Device (or) App Name in the text box.
- Specify the Current Password that is used to log into Zoho.
- Click Generate. A random password will be generated.
- You can use the email address used to log in to Zoho and this generated password to sign in.
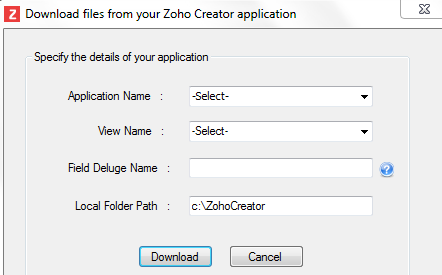
- Once you are logged in, specify the following attributes and click on Download.
- Application Name: The Application containing the images.
- View/Report Name: The Report in the specified application containing the images.
- Field Deluge Name: The image field Deluge name. Click on the "?" icon to view field deluge names in your applications.
- Local Folder Path: Path where you want the images to be saved.
Note:
- Be sure to have less than or equal to 10 authtokens in your accounts.zoho.com to avoid any username/password related errors.