Zoho Writer User Guide

Document Collaboration & Sharing

Why share files through email attachments when you can transfer them with a single click? Zoho Writer lets you share files with individuals and groups directly, avoiding the confusion of multiple email attachments. To keep your intellectual property safe and secure, we also provide a comprehensive range of privacy settings, which ensure that your documents are only visible to the people you choose.
How do I share files with people in my organization?

In Zoho Writer, you can share files with individual colleagues or a group of collaborators while retaining control of your document.

To share a file:

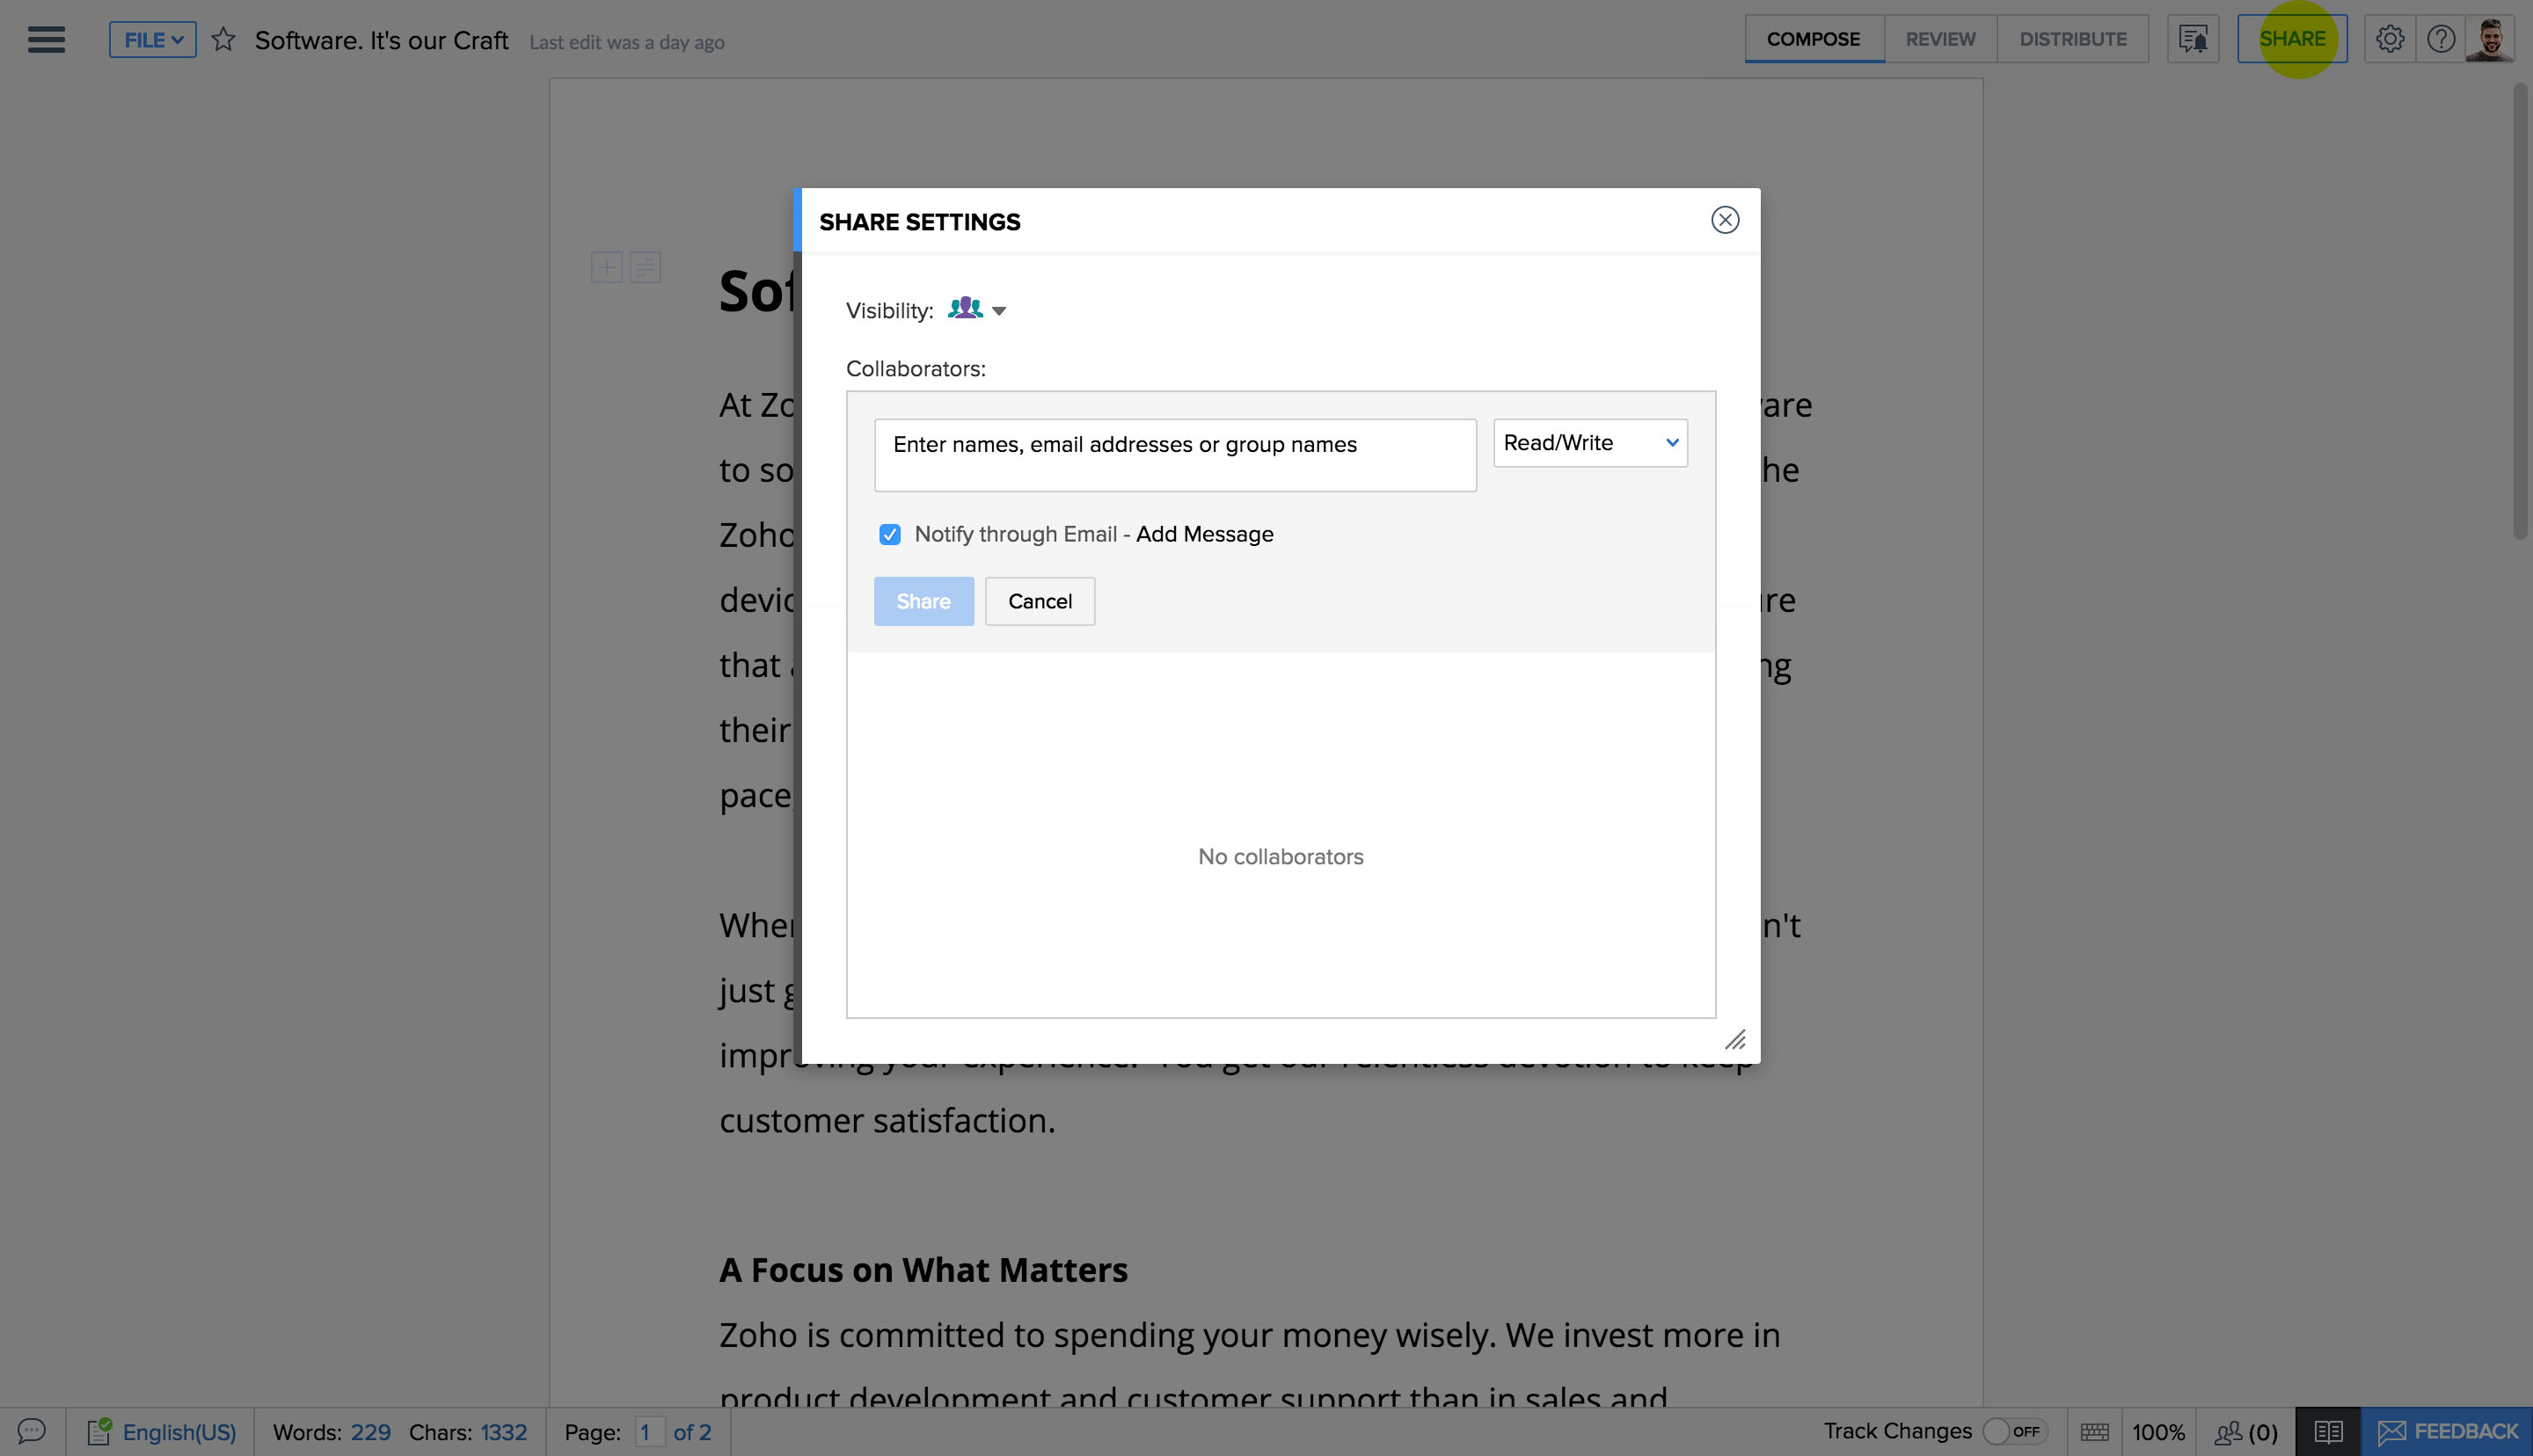
  • 1Click Share at the top right corner of the screen. A dialog box, titled Share Settings, will appear.
  • 2Enter the name or email address of the person or group you want to share the file with.
  • 3Set the permission level to Read Only, Read/Comment, Read/Write or Co-owner.
    • Read Only : Collaborators can view the file but cannot comment, make changes or share the file.
    • Read/Comment : Collaborators can add comments but cannot edit the text or share the file.
    • Read/Write : Collaborators can edit the document but cannot share it.
    • Co-owner : Collaborators can edit and share the document. However, they are unable to change the document visibility. This can only be modified by the original creator.
  • 4Click Share.

Note : When you share a file, you can choose to notify your collaborators via email by checking the Notify through Email box. If your collaborators need any extra information, click Add Message just below the permission settings.

Share files with my colleagues

How do I share files within my organization?

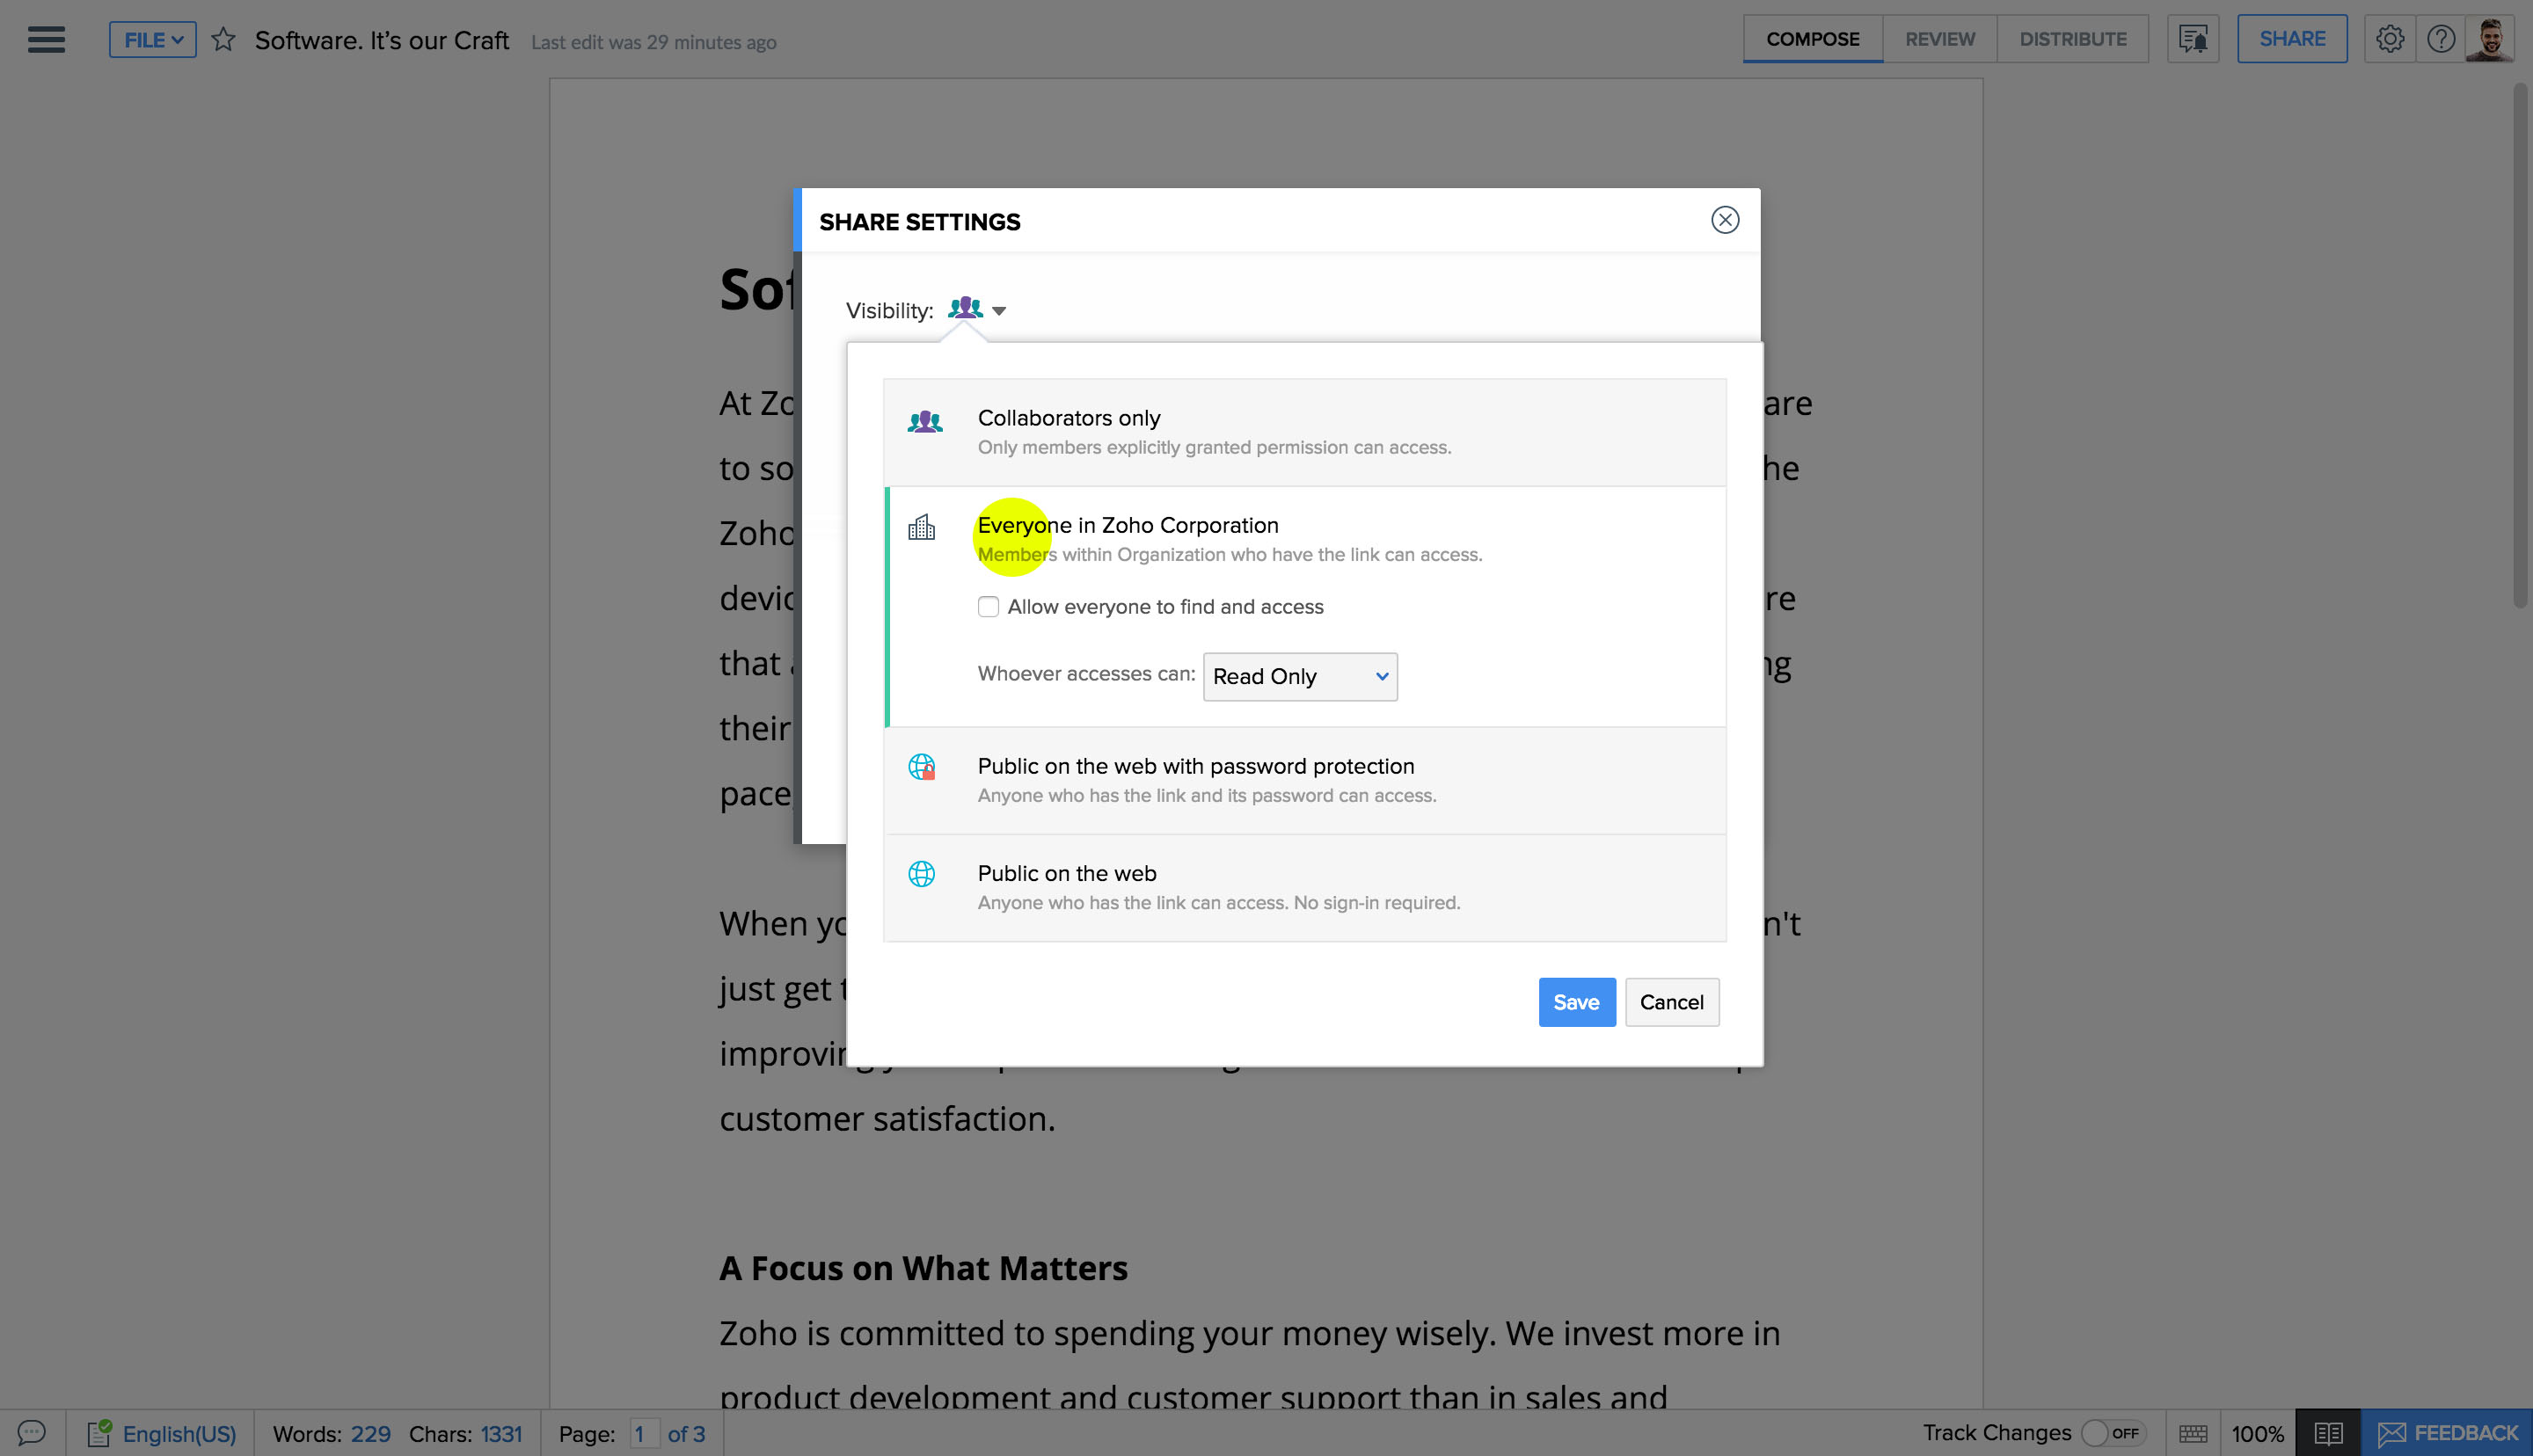
Share files with everyone in your organization by simply changing the file's visibility settings.

To share files with everyone in your organization:

  • 1Click Share in the top-right corner of the window. A dialog box, titled Share Settings , will appear.
  • 2Click the down arrow on the right side of the Add Collaborators field.
  • 3Click Everyone in < your organization >. A dialog box will appear containing your document link and its permission settings.
  • 4Set your link permissions to Read only , Read/Comment or Read/Write and click Share.
Share files within organization

How do I share files with non-Zoho users or the public?

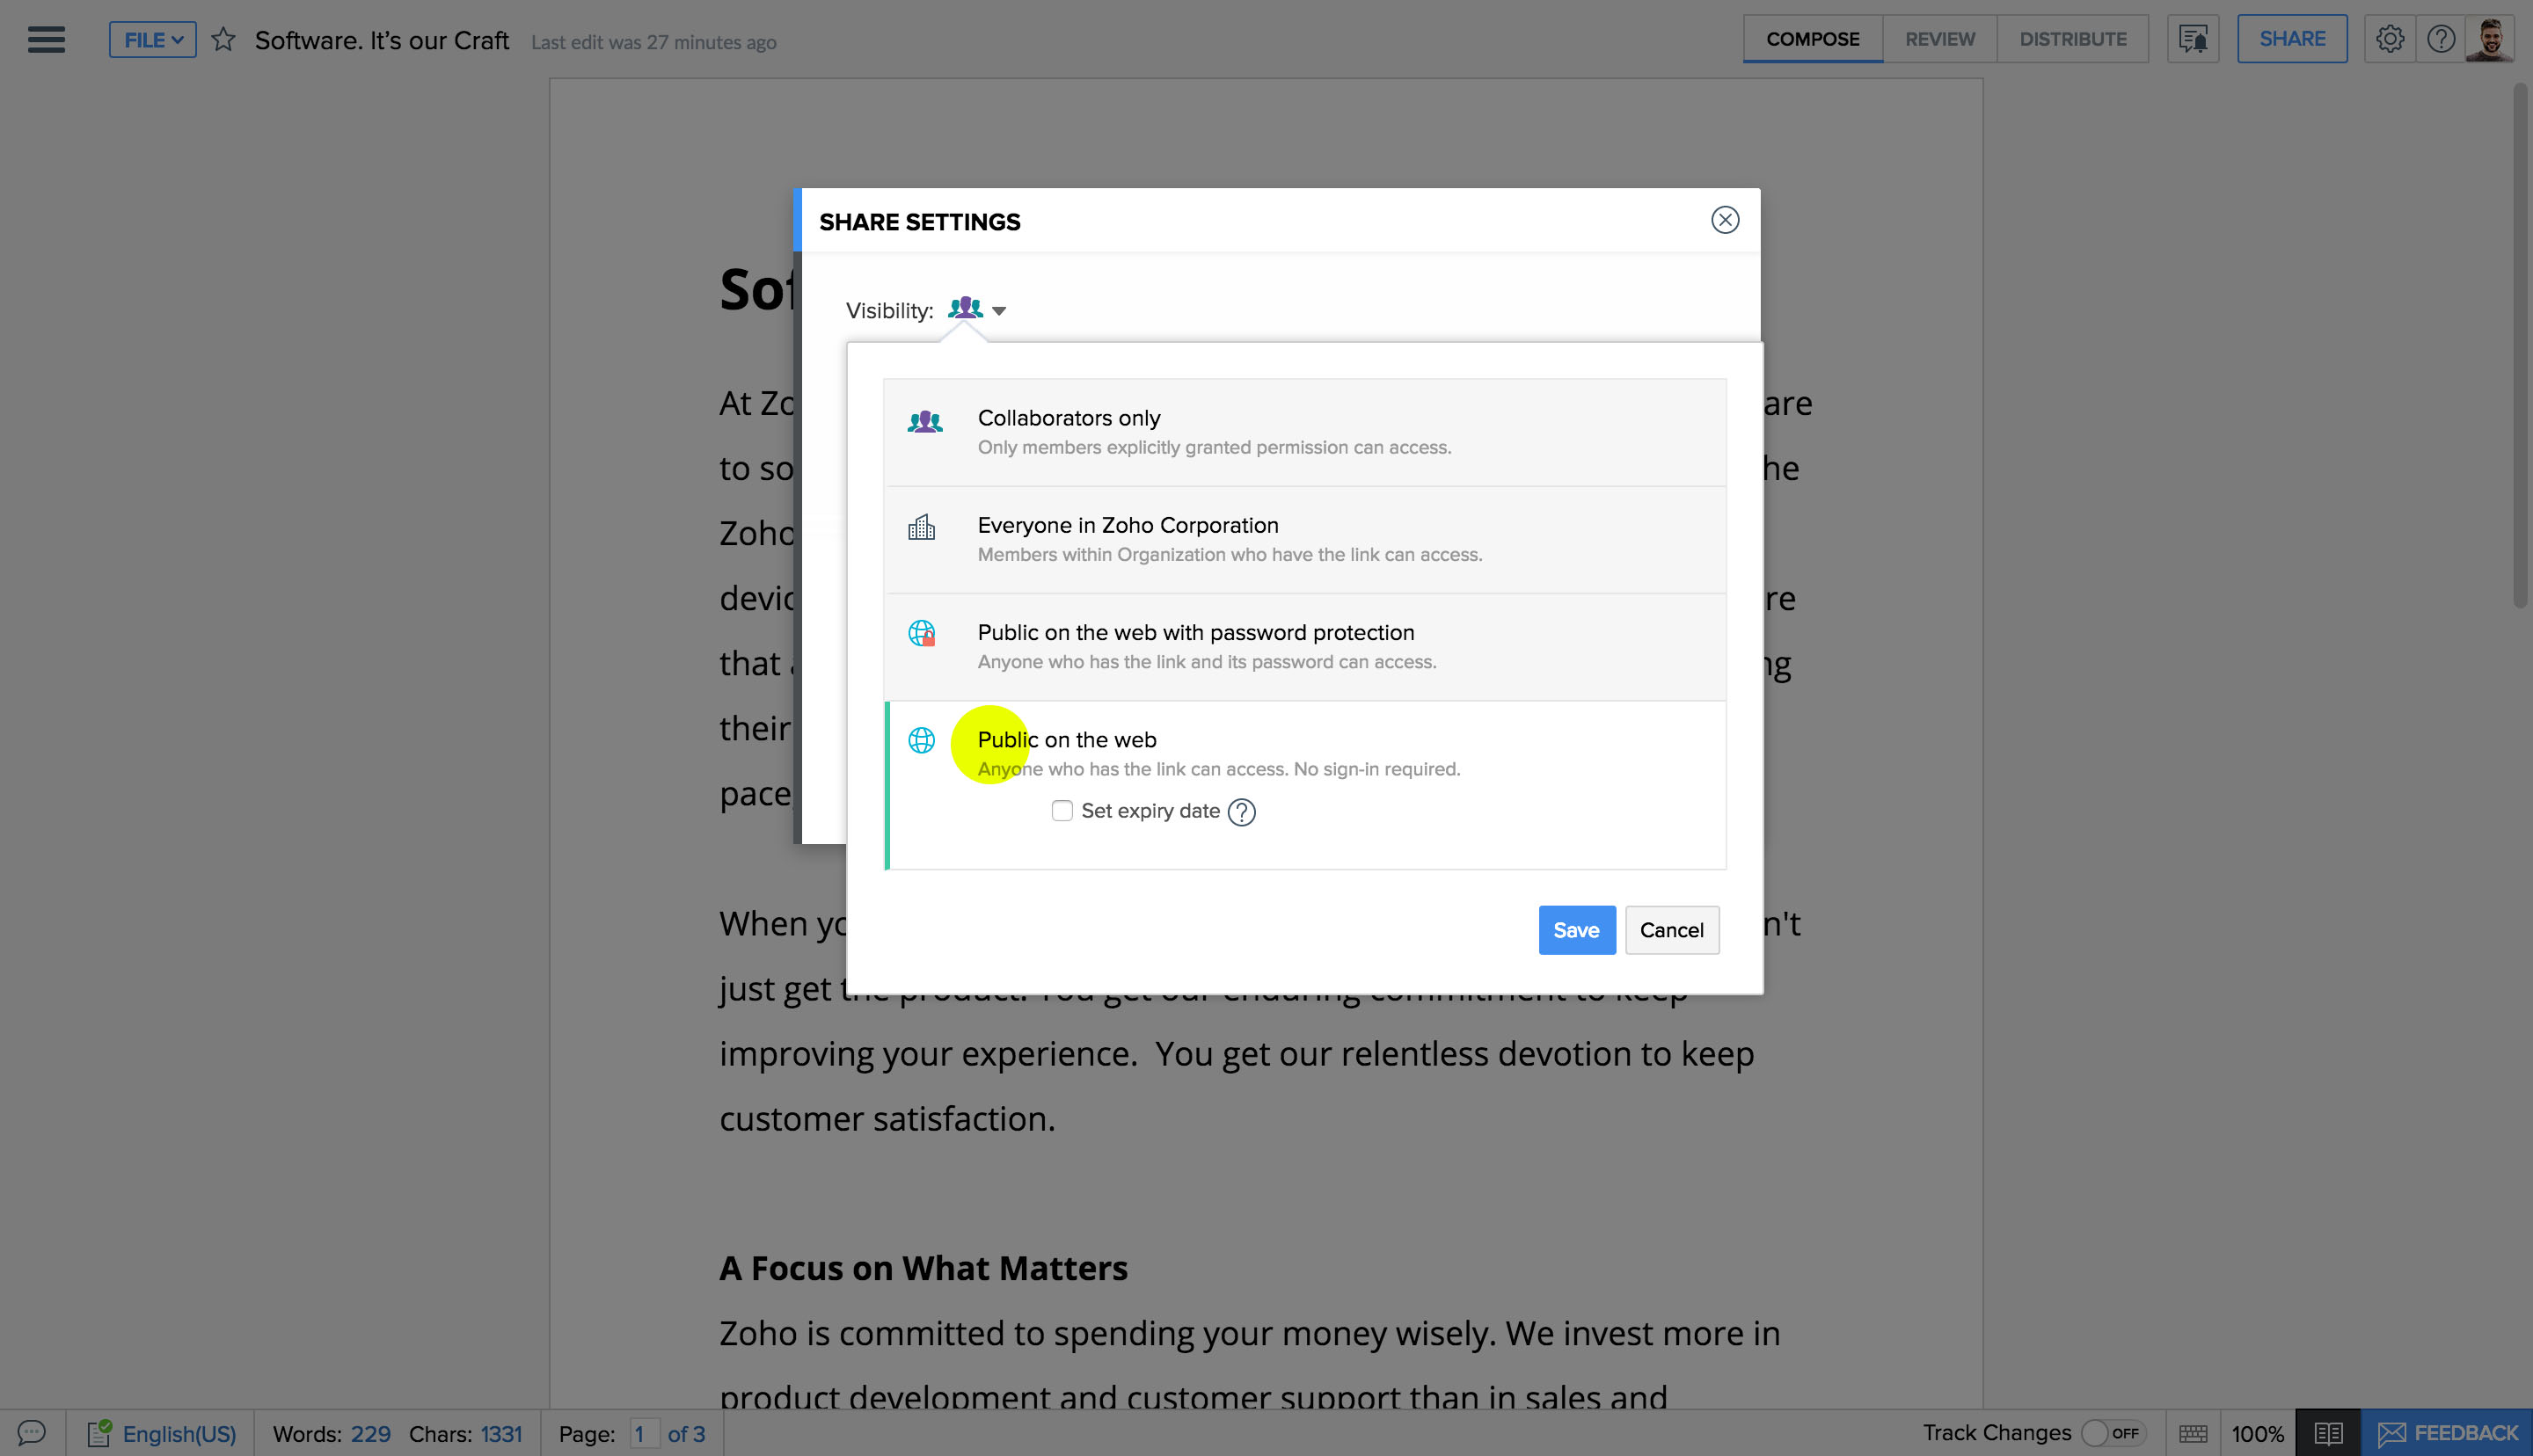
You can use document links and easily share files with non-Zoho users. Your files won't be listed anywhere publicly, but anyone with the document link will be able to view the file. For added security, you can password protect your file so only users you choose have access. You can also set a password expiration date, after which outside collaborators will no longer be able to access the file

To share your files with non-Zoho users:

  • 1Click Share in the top-right corner of the window. A dialog box, titled Share Settings , will appear.
  • 2Click the down arrow on the right side of the Add Collaborators field.
  • 3Click Everyone in Internet. A dialog box containing the file's unique access link will appear. Anyone with this link will be able to access this file without needing to log in to Zoho Docs.
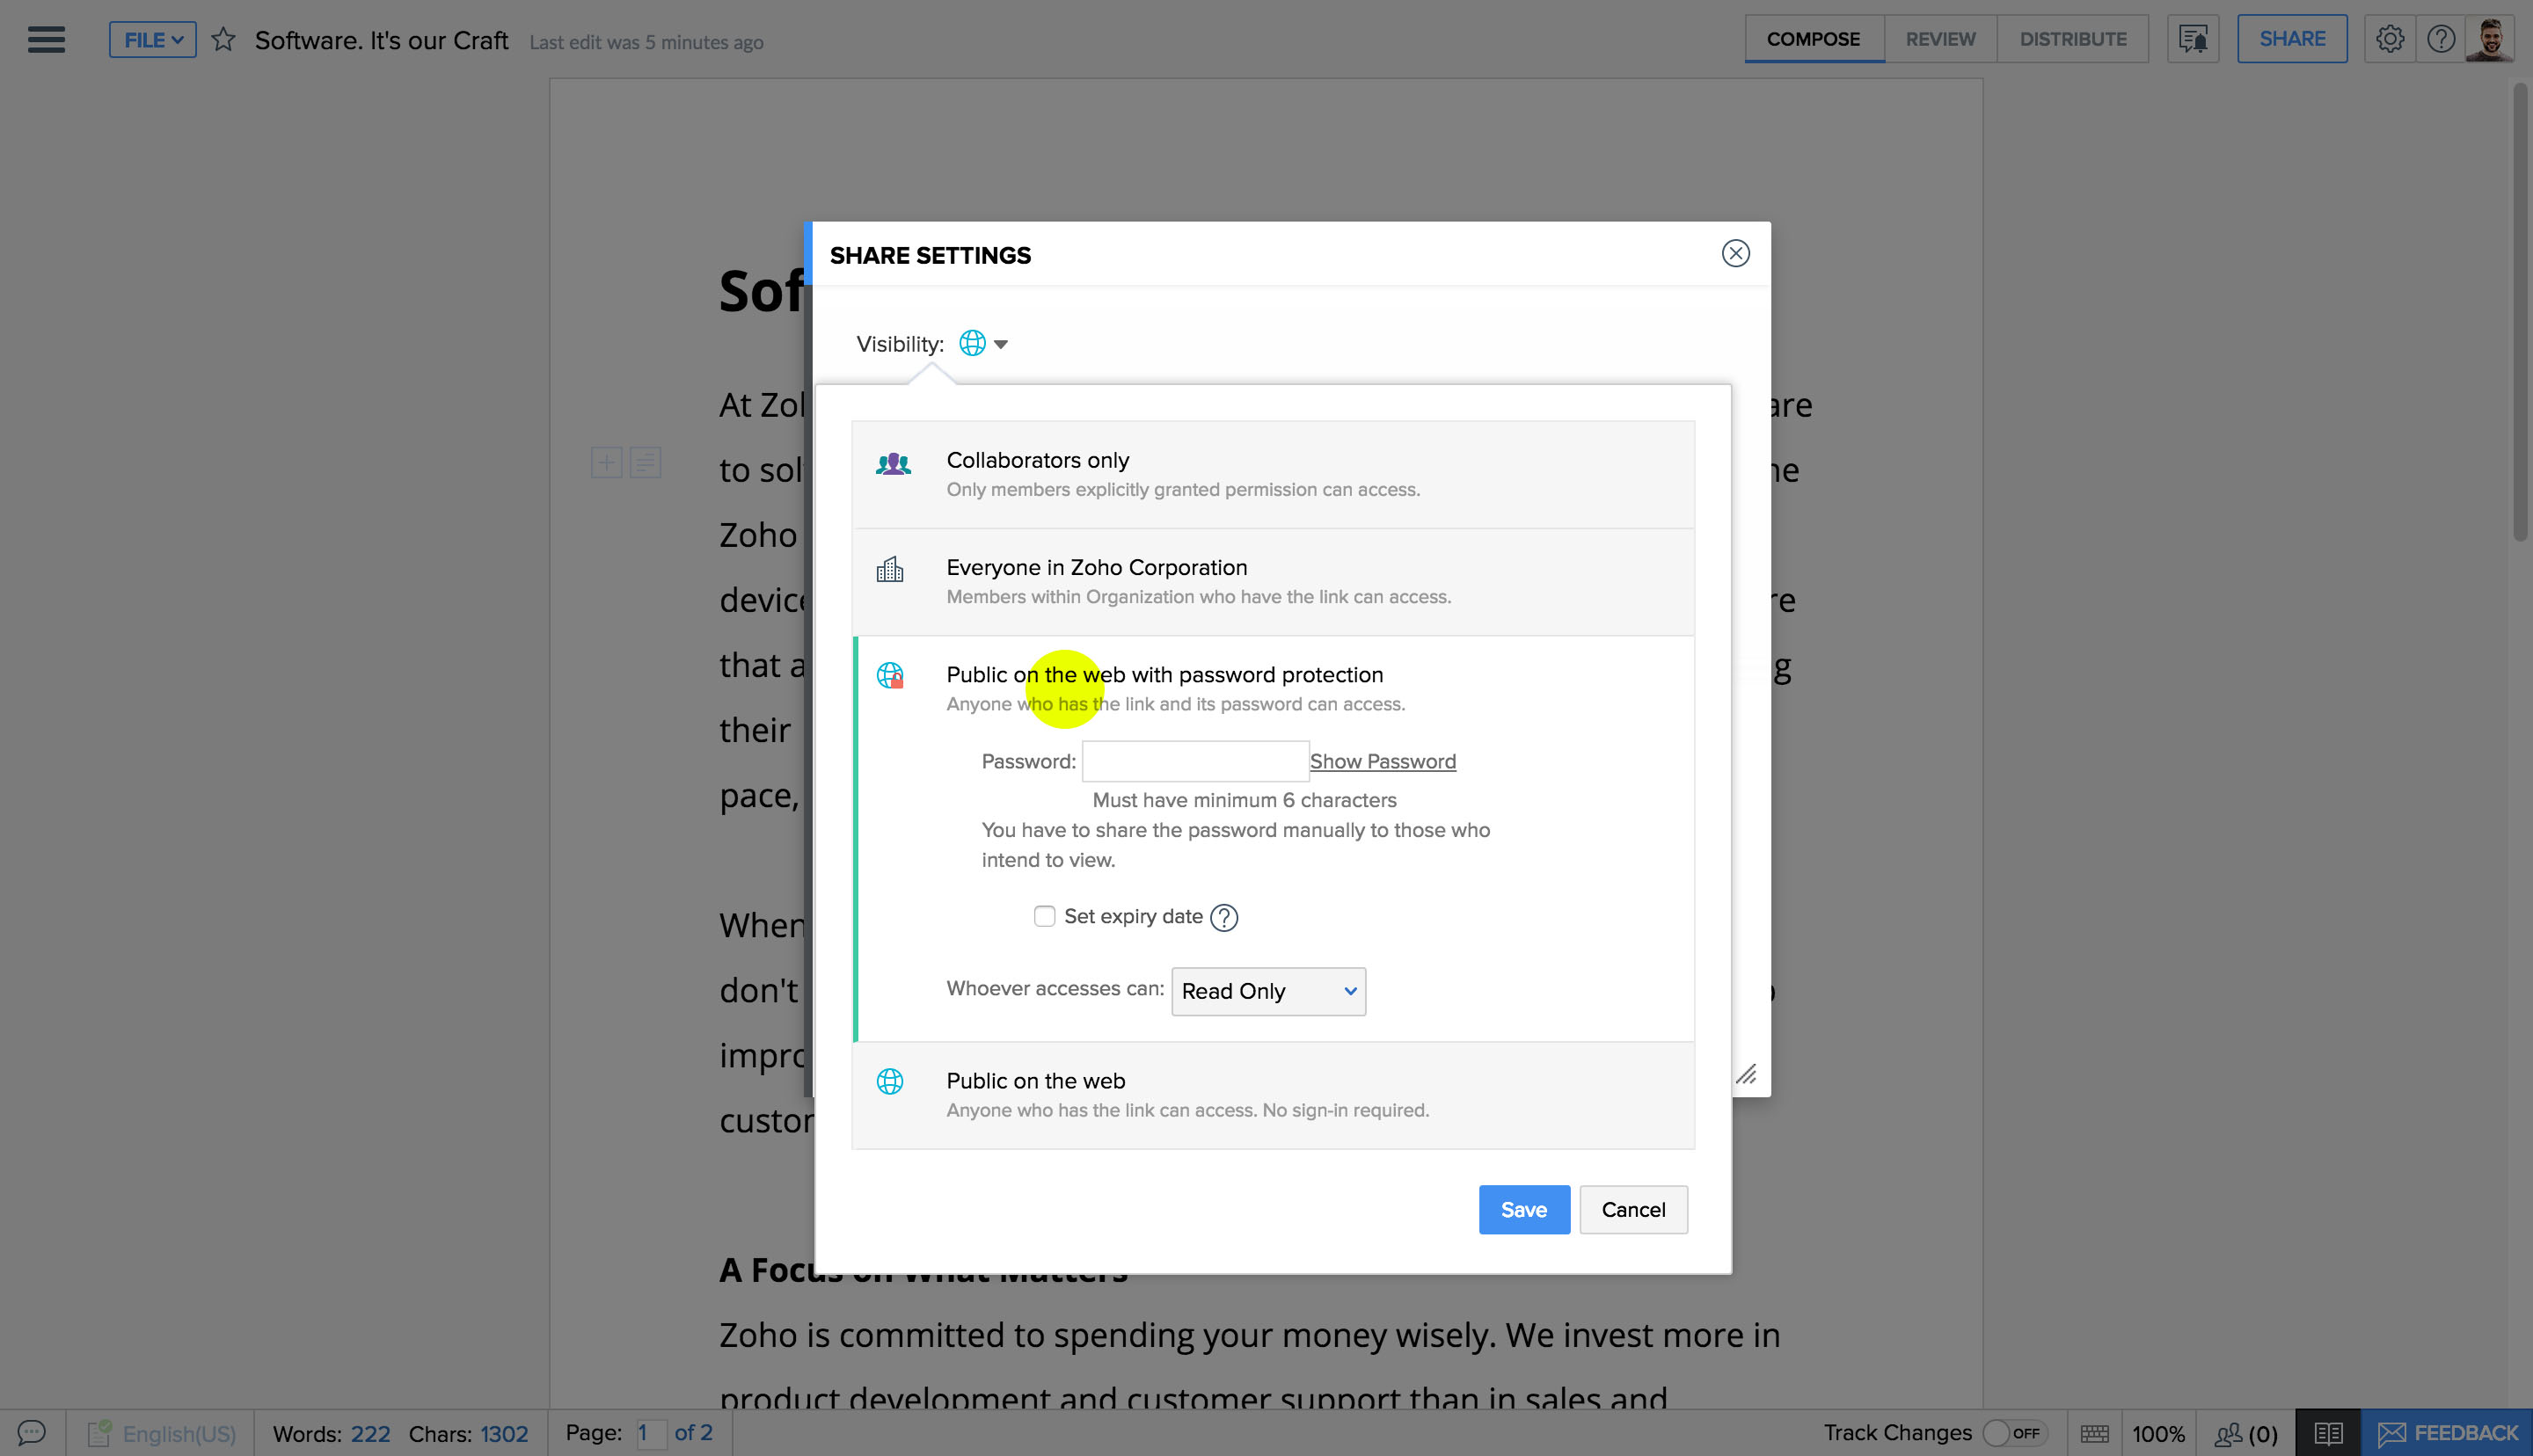
  • 4You can set a password for your file. Check the box below the document link labeled Password protect access . Enter your password in the Set Password field.
  • 5Set an expiration date for your password by checking the box labeled Expiration Date if you want to restrict your contacts from accessing the file after a specific date.
  • 6Click Share.
Share files with non-Zoho users

How can I share files with external contacts using protected link?

Zoho Writer allows you to share protected files with your email contacts easily and securely. You can set a password and an optional expiration date for your document link. Simply add contact email addresses to send the document link and password to your external collaborators.

To share password protected files with external contacts:

  • 1Click Share at the top right side of the screen. A Share Settings dialog box will appear.
  • 2Click the down arrow on the right side of the Add Collaborators field.
  • 3Click External Contacts with Protected Link. A dialog box will appear. Enter the email addresses for your external collaborators.
  • 4Set file permissions and create a password. If you want to include the document password in the email sent to your collaborators, check the box labeled Send password through email .
  • 5Set an expiration date for your password by checking the box labeled Expiration Date if you want to prevent your contacts from accessing the file after a specific date.
  • 6Click Share.
Share files with protected link