This tutorial teaches you how to create a cloud app in Zoho Creator. The core components of a Zoho Creator app comprises of
- Forms to submit data.
- Reports and Pages to view data in multiple formats.
- Application logic to perform tasks under certain conditions.
In addition, the app automatically supports,
- Built-in security with role-based access control
- APIs to integrate with external applications
- Publishing the apps to websites and blogs
- Mobile access
Create a simple "Order Management" app
- Login into your Creator account, and click on Create Application option on the top right corner of your Home page.

- There are 3 options to create an application : Application gallery to install a ready made app, Import File to import data and create an app, From Scratch to create an app from scratch. Here, we will create an application from scratch.
- Select From Scratch and enter the Application name as Order management. Now click on Create.
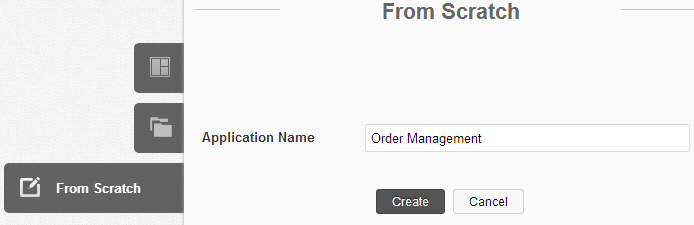
- The application Order Management gets created and you land on the form builder page.
Create a Product form
Let us create a Product form that will store the inventory details like Product name, price etc.
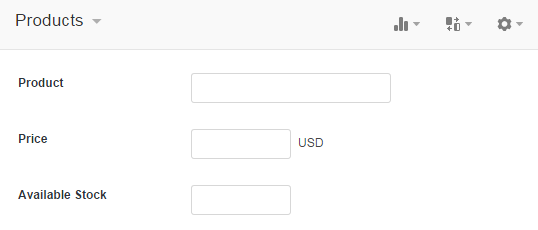
- On the right, specify the Form title as Products under Form Properties.
- Add the following fields to the Product form. Fields can be added by dragging and dropping them on to the form.
- Drag and drop the single-line field and name it as Product. This field is used to enter the Product name
- Drag and drop the currency field and name the field as Price. Select the currency type as "USD". This field is used to enter the Price per unit of the product.
- Drag and drop the number field and name the field as Available Stock.
Create an Order form
Now let us create another form, Orders. This form will be used to make orders and maintain details like customer name, order date etc.
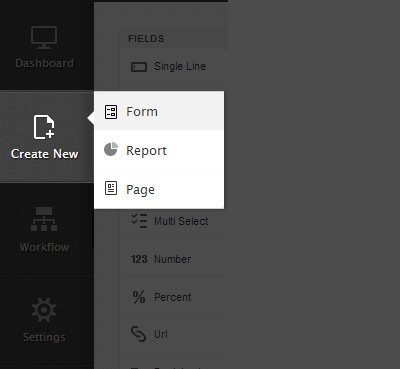
- Click on Create New - Form option on the left.
- Name the new form Orders. Now add the following fields to the order form.
- Drag and drop the Single line field type and name it as Name, to enter the name of the person who is placing the order.
- Drag and drop the Email field type and name it as Email , to enter the email id of the person who is placing the order.
- Drag and drop the Date field type and name it as Order Date to enter the date of order.
Create relationhsip between Order and Product form
Now let us create a relationship between the two forms. When you create a relationship, you tell Zoho Creator to link a record in one form to one or more records in another form.
A lookup field is added to create this relationship. Let us create a lookup field in the Order form to relate it with the Products form. This allows the products added in the Products form to show up in the Order form.
- Open the form builder and drag-and-drop the lookup field on the Order form.
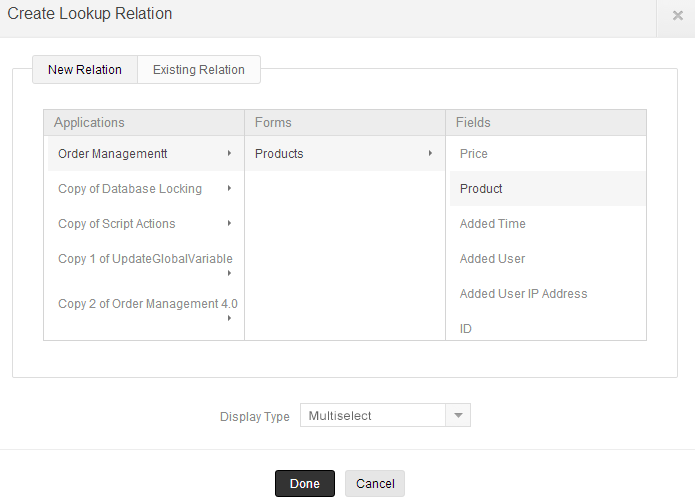
- A pop up appears that needs you to choose the Applications - Forms - Fields to which you want the Order form to relate to.
- Select Order Management - Products - Product. You can choose the type of this field. In this example, we have selected Multiselect, so that multiple products can be selected for a single order.
- Click on Done to save the changes. The Order form is now linked with the Products form through the product field.
Note: Adding a multiselect lookup field, creates a one-to-many relationship between the order and product form. (i.e) a user can select multiple products for a single order. But a limitation with this lookup field is that a user cannot specify the quantity that he needs to order for each product. So, we assume that only 1 no. of each product is ordered. In the Advanced App Building Tutorial, we will learn to create the Order Form using Subform relationship.
- Now let us add a field for delivery type of the products ordered. Drag and drop the Checkbox field type and name it "Delivery". In Choices under Field properties type in "USPS Priority (1 - 2 days)" for the first choice, "USPS 1st class (2 - 3 days)" for the second choice and "USPS Standard(3 - 4 days)" for the third choice. The "Order"form should now look like the following screeshot:

Access the application
Now that we have created a basic application with simple forms and fields, lets see how it works in the live mode. To access this newly created application,
- Click on Access this application on the top right corner. You will be redirected to the live mode of this application.
- In the live mode, you can see the two forms created by you. Each form is present under the header of the form name. Products stands for the Products form and Orders stands for the Orders form.
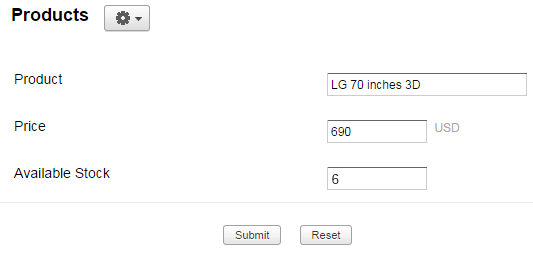
- Fill in the Products form with sample entries. Lets say, you fill the product field as "LG 70 inches 3D" and enter the price as "690".
- Now go to the Orders form and enter sample entries. You will notice, the "Product" field contains "LG 70 inches 3D" in the dropdown, which was actually entered in the other form.
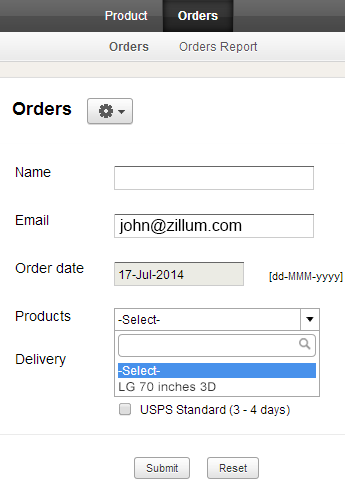
This is how relationship between two forms is achieved.
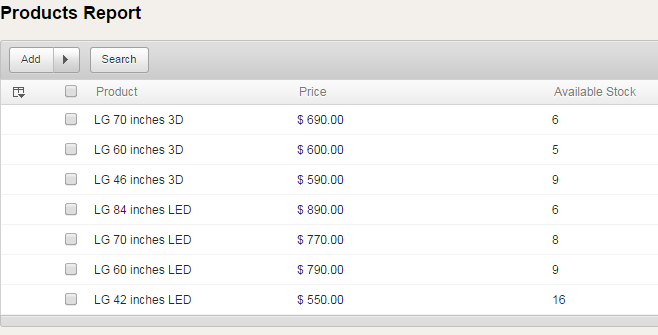
View reports and Add records
Under each form name, you will notice there is a Report tab along with the form. The Report section stores all the data recorded through forms. The data can be viewed in different formats like list, summary, grid and spreadsheet.
- To view records in different formats, click on Settings icon on the top right corner and go to View as. Now select the format you wish to apply.
- From Reports section you can also add records.
- Click on Add to fetch the form and add records to it.
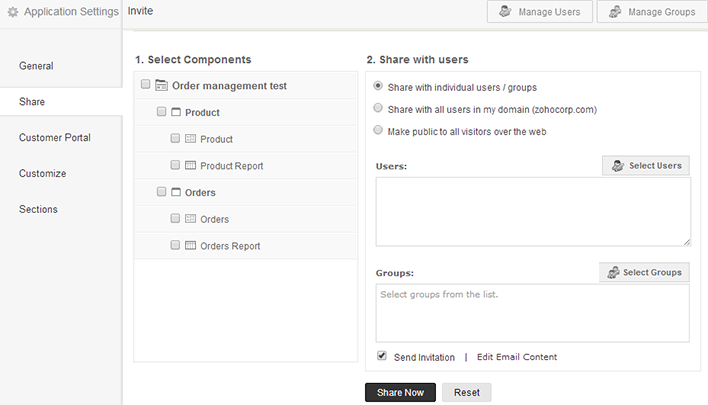
Share the app with users
Now let us put this application to use. Applications are built for users who make use of them to submit data and view reports. Users can access the app if it is shared with them by the app owner and also based on the access permissions provided.
- To share the application with users, go to the Application settings - Share. Here you can specify:
- Which components of the application you want to share
- With whom(which users) you want to share.
- Select your options and click on Share now to activate the changes.
Customize the app
Zoho Creator, after all, is not just about logic. It also has immense scope for your creative minds. Add a layout and a theme for you application to give it a look of your choice.
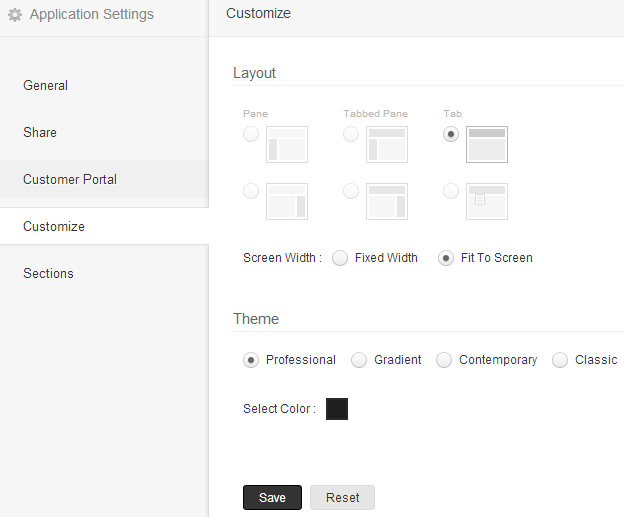
- Go to Application Settings - Customize to customize your applications's outer look.
- Select a layout and a theme from the different layout and theme options.