Overview
Report schedules are scheduled delivery of Zoho Creator views, straight to your inbox. (i.e) you can send your view data as reports by specifying fixed date and time with repeats like 'monthly' or 'yearly'. The view data can be sent as an attachment in the send mail task in Deluge script, in XLS, PDF or CSV formats. Only the Send Mail task can be configured as event in "View Subscription" schedule. For example, consider a "Sales Database" application with a "Sales View". You can configure a schedule to send the "Sales View" to the respective Sales managers on a daily, monthly, or yearly basis.
Configuring a Report Schedule
- Select the Form for which the Report Schedule must be configured.
- Click on Workflow -> Schedules option. If you are defining a schedule for the first time, click on the Create button displayed within the Scheduled subscription text box, (or) If you have schedules listed in the Schedule tab, click on New Schedule -> Report Schedule option.
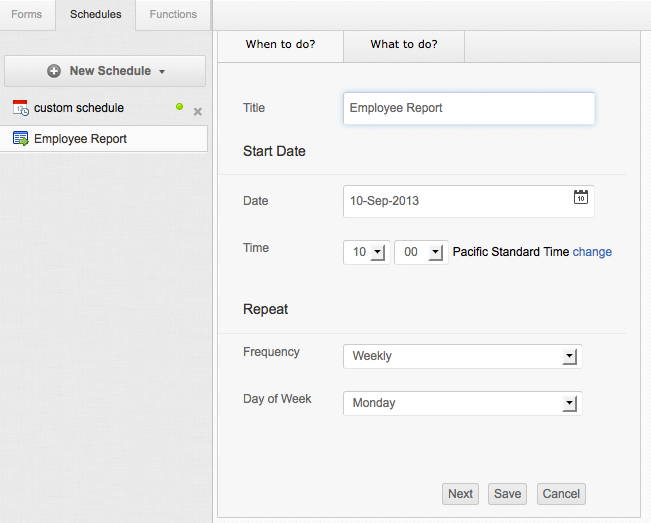
- The New Report Schedule screen will be displayed with two tabs - When to do tab and What to do tab. The When to do tab is used to specify the schedule title, date and time of the schedule and its repeat frequency. The What to do is used to configure the schedule event/action. By default, the When to do tab is selected.
- Define the Event by selecting the When to do tab.
- In the Title text box, specify a meaningful title for the schedule. A schedule will be identified by its title and will be listed under the Schedule tab.
- In the Date field, specify the start date of the schedule. Use the Insert Date icon placed near the Date field, to select the required date. The Date will be displayed in the format as specified in the Application Settings dialog.
- In the Time field, select the hours and minutes when the event has to be scheduled on the specified date.
- In the Frequency field, select the repeat frequency of the schedule as Daily, Weekly, Monthly or Yearly from the options listed. You can schedule to send weekly reports on a specific day of the week or monthly reports on a specific date of the month or yearly reports on a specific month of the year. Selecting None will execute the schedule only once on the specified date and time.
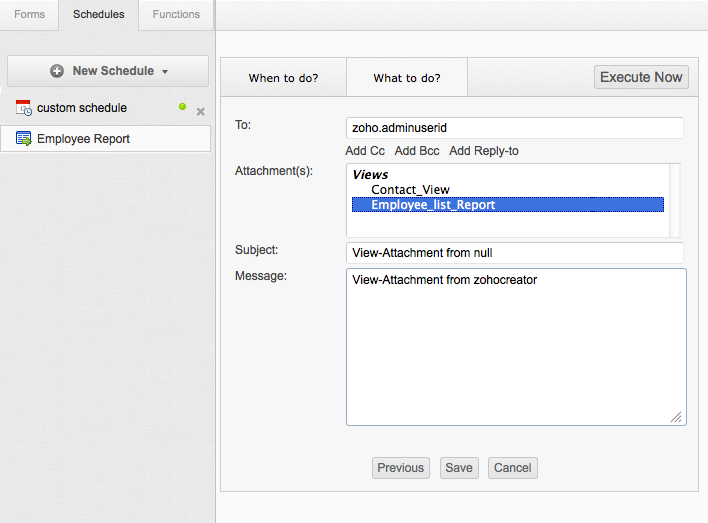
5. Click Next to move to the What to do screen and specify the following details:
- To: Specify the To address to whom the report will be sent.
- View: All the views in the application will be listed here. Select the view to be sent as report.
- Subject: Specify the subject of the email.
- Message: Specify the email message content.
6. Click Save to save the configurations. The schedules created will be listed on the left-side and the Script definition of the schedule will be displayed on the right-side. If required, you can also edit the event from the GUI.