Overview
You can create a new application in Zoho Creator by importing FileMaker database into Zoho Creator.The FileMaker Migration Tool is a simple tool to upload your existing Filemaker dabatabse applications to
Zoho Creator by following the steps given below:
- Install ODBC for FileMaker
- Share FileMaker Datasource to ODBC
- Create new datasource
- Use the migration tool to import
Note:
- There is no limit on the number of columns while importing data to update records. However, the number of columns should not exceed 70 while creating an app by importing data using Migration tool.
Install ODBC for FileMaker
ODBC (Open Database Connectivity) is the intermediate in the import-process. It comes bundled with your FileMaker installation, and would be installed by default. If not installed already, follow FileMaker's instructions from here to install ODBC.
http://help.filemaker.com/app/answers/detail/a_id/7700/~/installing-odbc-and-jdbc-for-filemaker-11
http://www.filemaker.com/support/product/docs/fmp/fm11_odbc_jdbc_guide_en.pdf
Share FileMaker datasource to the ODBC
The datasource has to be shared to the ODBC first, and then into Zoho Creator.
To share the file to ODBC,
- Access your FileMaker Database.
- From File -> Sharing, and share the database with "ODBC/JDBC".
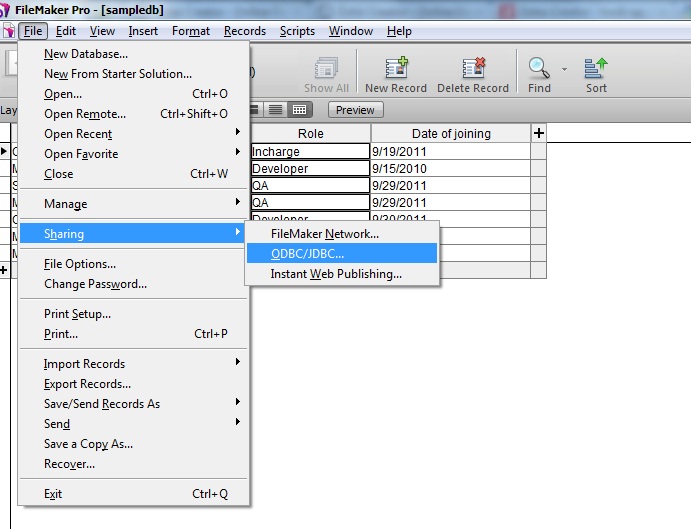
- Turn the ODBC/JDBC settings on, as shown in the image below.

-
Click on OK when done.
Create a new datasource
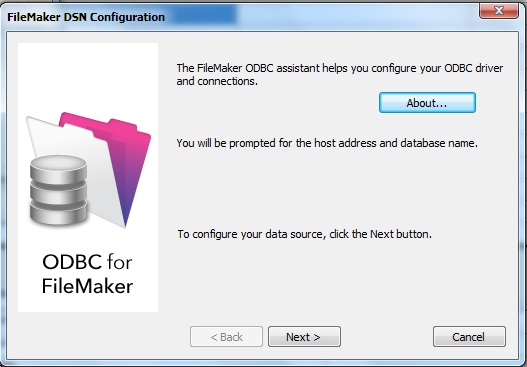
To establish a connection between ODBC and Zoho Creator, you need to install the migration tool, and configure DSN.
-
Download and install the Migration Tool from here.
- Run the migration tool.
- Select File -> Import FileMaker Datasource.

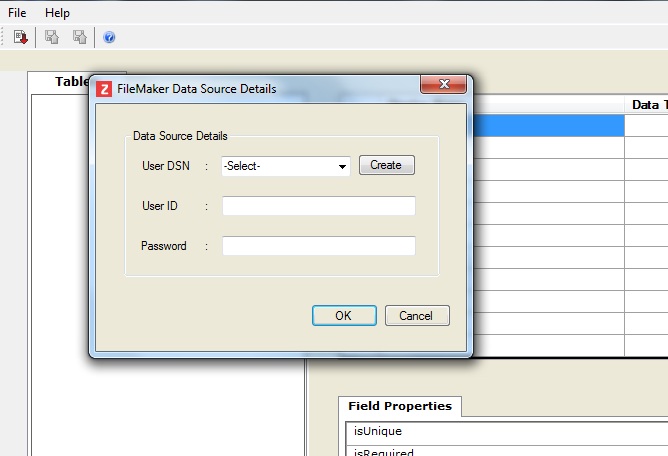
- The FileMaker datasource dialog box will appear as in the image. To configure the datasource to import, click on Create.
- Name your datasource.
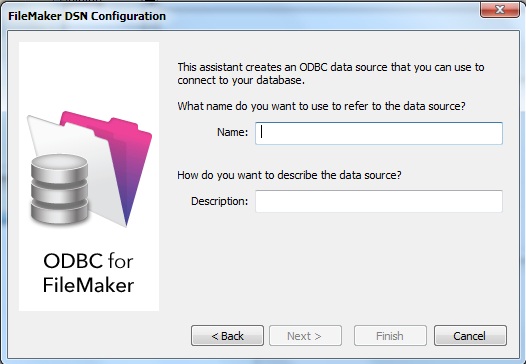
- Type the name of the computer on which the datasource resides. If the file is on your computer, then type "localhost".
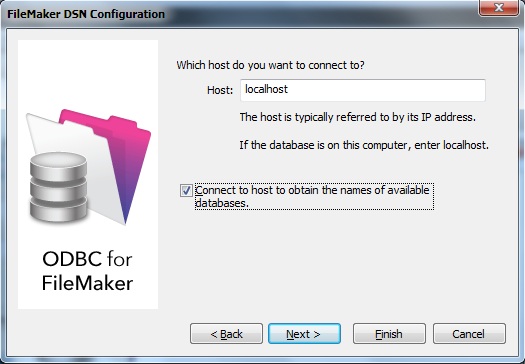
- Ensure the checkbox labelled Connect to host... is checked, and click on Next
- All datasources available in the specified host will be listed. Select the database to import and click on Next.

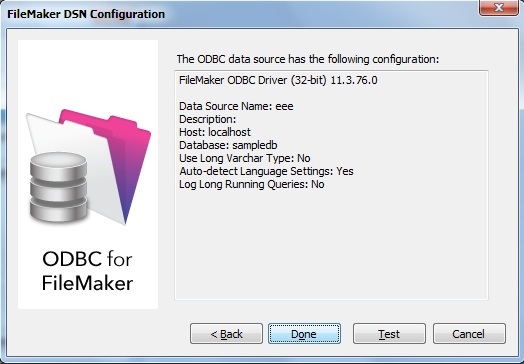
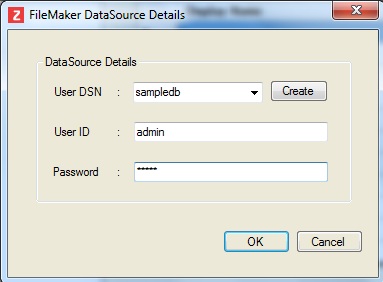
- Once you successfully establish the connection, you will return to the FileMaker Datasource details, and the datasource will be listed in the drop-down menu.
Use the migration tool to import
- Select the datasource from the list,and provide credentials of your FileMaker database.
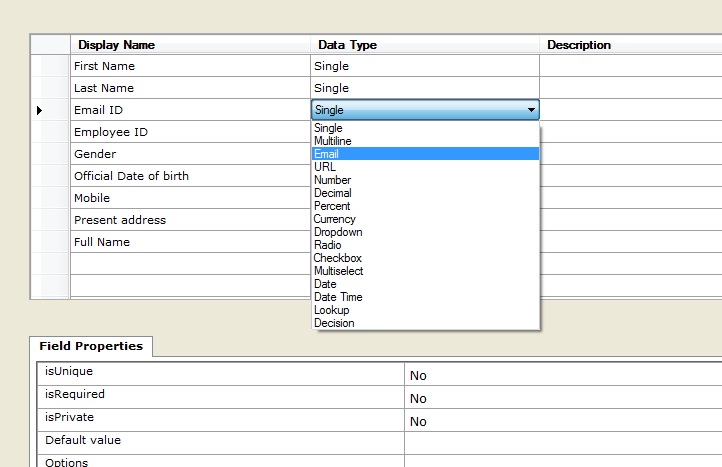
- Before importing, you can modify the file-types and relationships, as seen in the image below.
- Select the Zoho Creator account into which the datasource has to be imported and provide Zoho credentials.