Live Chat is an easy-to-use live chat software solution allowing your customers to chat and connect with you on the go. It empowers your customers to reach out to you within seconds and get their doubts clarified, without having to call or email you. You can embed this feature in your website or your customer portal. Once done, your customers are just a click away from reaching you. To access Live Chat, go to Application Settings > Live Chat.
Note
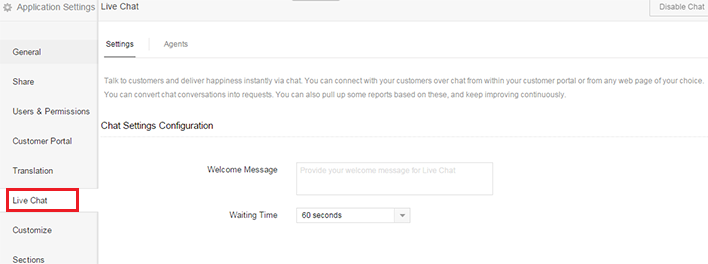
This section allows you to configure chat settings like Welcome Message and Waiting Time
It may not be possible to reply to every customer query immediately. This feature allows you to set an automated message for your customer as the chat begins. It gives you valuable extra seconds to respond to your customers efficiently.
Waiting Time is the amount of time that an agent has to answer an incoming query from a customer. If an agent fails to respond within that particular time, the visitor’s information will be logged into the missed visitors section. Waiting time has pre-set options of 30, 60, 90 and 120 seconds to choose from.
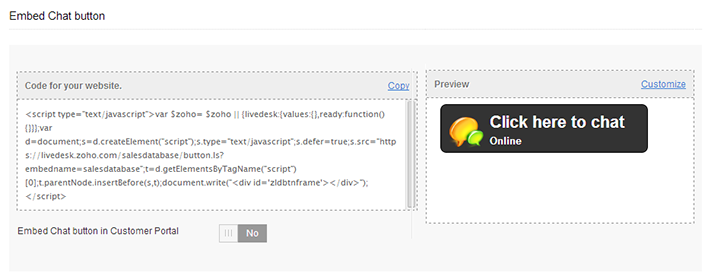
You can embed the chat button in your website or your customer portal. To embed the chat button in your website, copy the code under the heading " Code for your website" and paste it in your web editor. To embed the chat button in your customer portal, just toggle the "Yes/No" button accordingly.
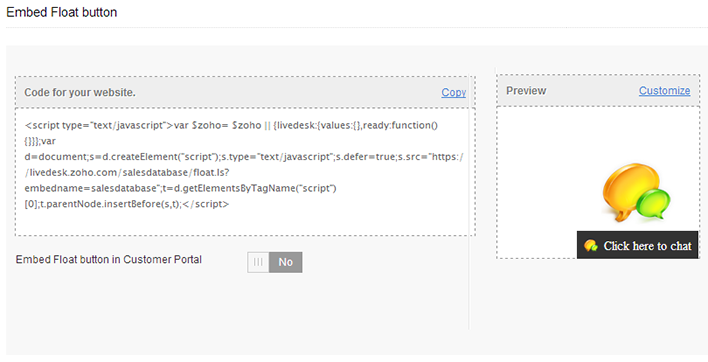
You can embed the float button in your website or your customer portal. To embed the float button in your website, copy the code under the heading " Code for your website" and paste it in your web editor. To embed the float button in your customer portal, just toggle the "Yes/No" button accordingly.

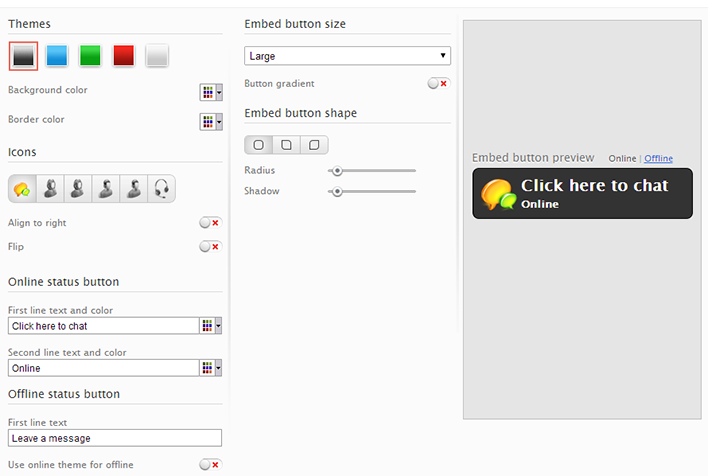
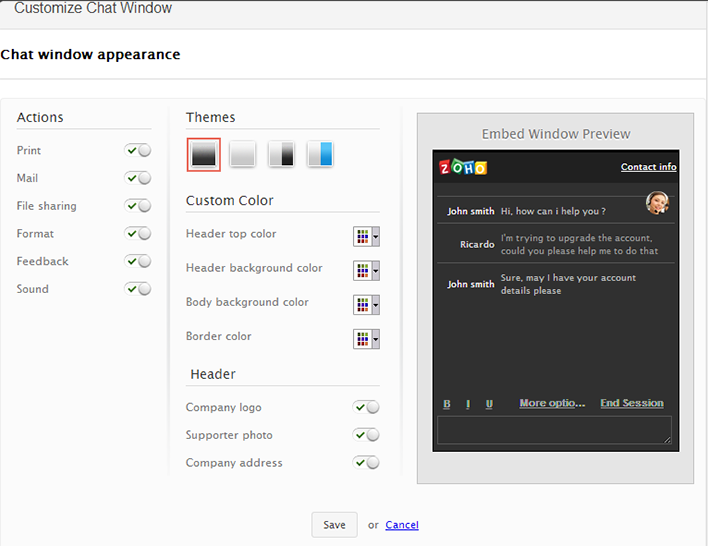
This feature allows you to change the appearance of the Chat window. Actions like Print, Mail, File, Sharing, Format, Feedback and Sound can be enabled or disabled from here. Different themes can also be applied to the chat window. Rich customization is possible by applying different colors for Header, Header background, Body background and Border. Also, you have the option to turn on or turn off the Company logo, Supporter Photo and Company address which appear on the Chat Window by default.
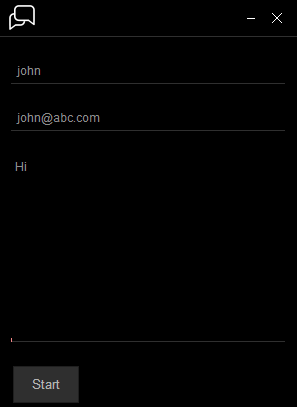
You can connect and chat with an agent from your customer portal to get your doubts clarified. To do so, "Embed chat/float button in Customer Portal" must be set to "Yes". On your customer portal home page, click on "Click here to chat" to start chatting with an online agent. This feature does not require you to sign in to the customer portal.
Screen shot of float button on the customer portal

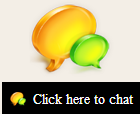
Screen shot of chat button on the customer portal
Once you click on the chat icon, you can start chatting in the chat box shown below
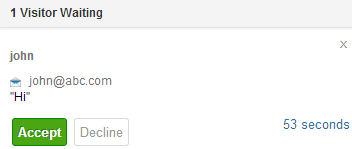
When a chat is initiated, the agent receives a call which he needs to accept. The agent has 60 seconds to answer the call, failing which the call ends.
Screen shot of incoming call popup
Upon answering the call, the agent is redirected to the chat page. He can then start chatting with the customer to reply to his queries.
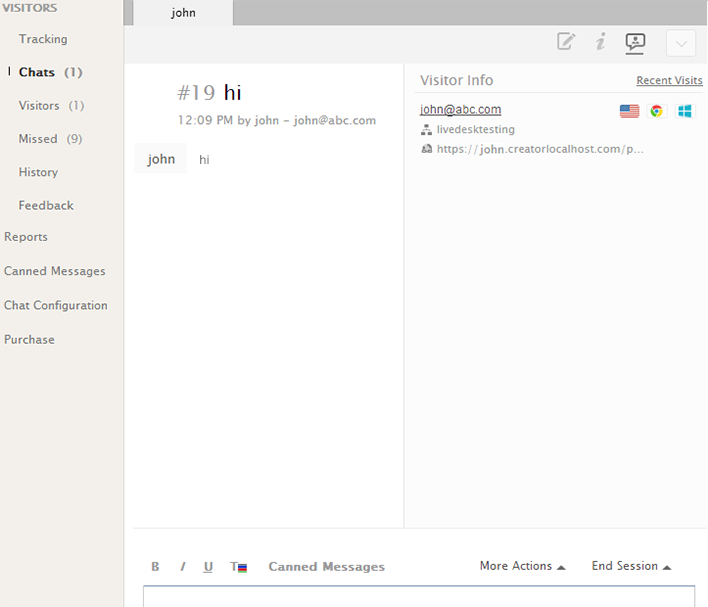
Screen shot of the chat page to chat with the customer
You can assign your existing app users as Agents who can answer incoming chat queries. To assign agents,
To delete an existing agent, click on "X" mark beside the agent you want to delete. Agents will receive queries only if their status is set to "Available". No queries will be received if status is set to "Busy". 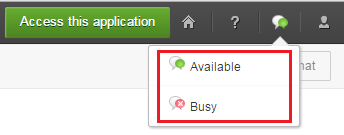
Agents can be assigned different Roles. Each Role has a different set of privileges.
Note: